Yum at the top and bum at the bottom? It was really high time for a replacement of the drive unit. You can find a report here or a short video here.

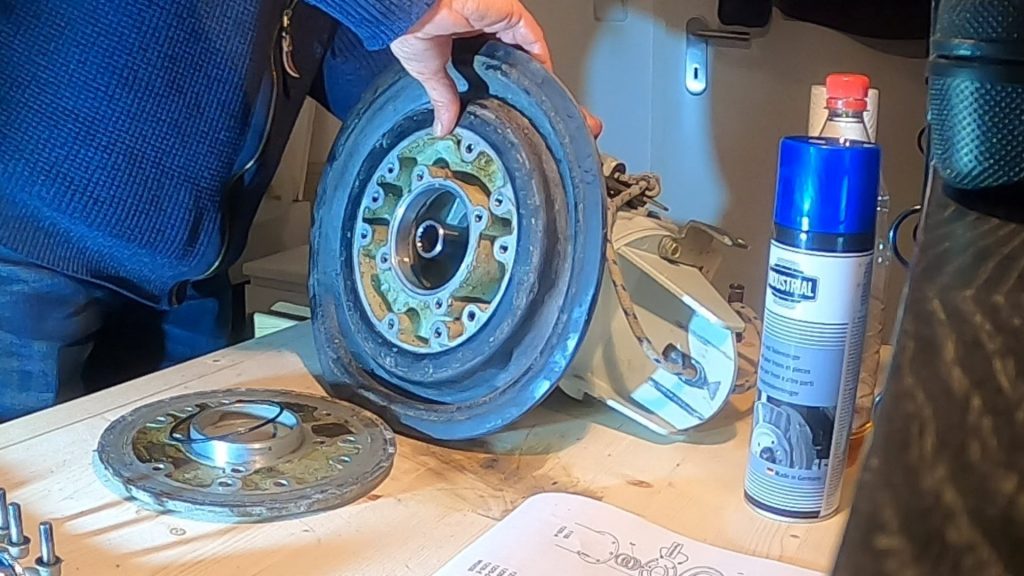
For the Volvo Penta Saildrive (S 120), the prescribed maintenance cycle for changing the diaphragm is 7 years. In regard to the diaphragm, which is made of more than 5 mm thick special rubber and should not be exposed to any significant mechanical or chemical stress under normal circumstances, this is quite a sporty rhythm..
I have owned my boat for over 10 years without ever having replaced the diaphragm and assume that the previous owner never did either in the years before. As far as can be seen from the engine room, the old diaphragm was in excellent condition, only in the front hard-to-reach area under the engine was a yellowish coating visible, which I can not assess or explain.
If it were only a matter of the diaphragm, I would take my chances and continue to drive with the old diaphragm until there are serious signs of wear or leaks. Then there would still be enough time to react. If it wasn’t for the seacock for the cooling water supply at the saildrive. It is extremely sluggish and can hardly be operated properly. The plastic washer originally intended for the closing is no longer usable at all, because it has a much too small lever. The plastic square for the lock, on which the disc once sat, can still somehow be gripped and operated with aids, but it is not safe to handle and it is only a matter of time before the square will be round. An unfortunately well-known and safety-relevant problem.
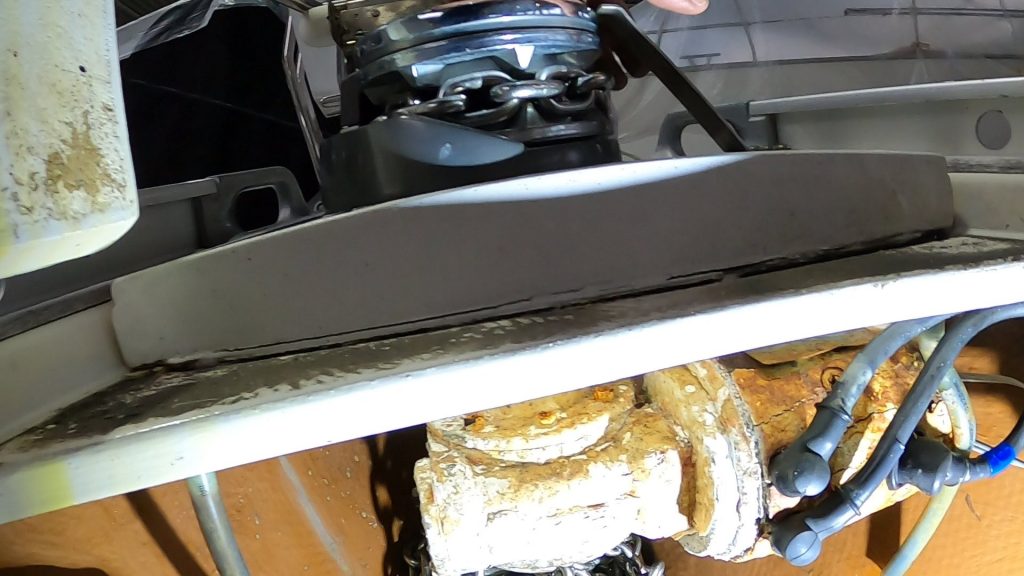
Since the seacock can not be managed without the removal of the Saildrive, I decide to make nails with heads and replace the diaphragm and valve on this occasion. The exchange is a complex and also somewhat more demanding work, which can quickly cost up to 2,000 €, if a commercial service provider takes over. For this reason, I consider doing it myself and look on the Internet, what I can find so DIY instructions and experience reports.
By far the most detailed and instructive report I could find is from Chris, who runs the vlog “Sailing Britaly”. He describes the individual steps and also the unexpected challenges so detailed and clear that even I as a layman get the courage to try it on my own. I can only recommend to anyone who wants to do this work themselves to take a close look at Chris’ report: you can’t show it any smarter than this.
Find here how I did it:
Experience report or watch the Video
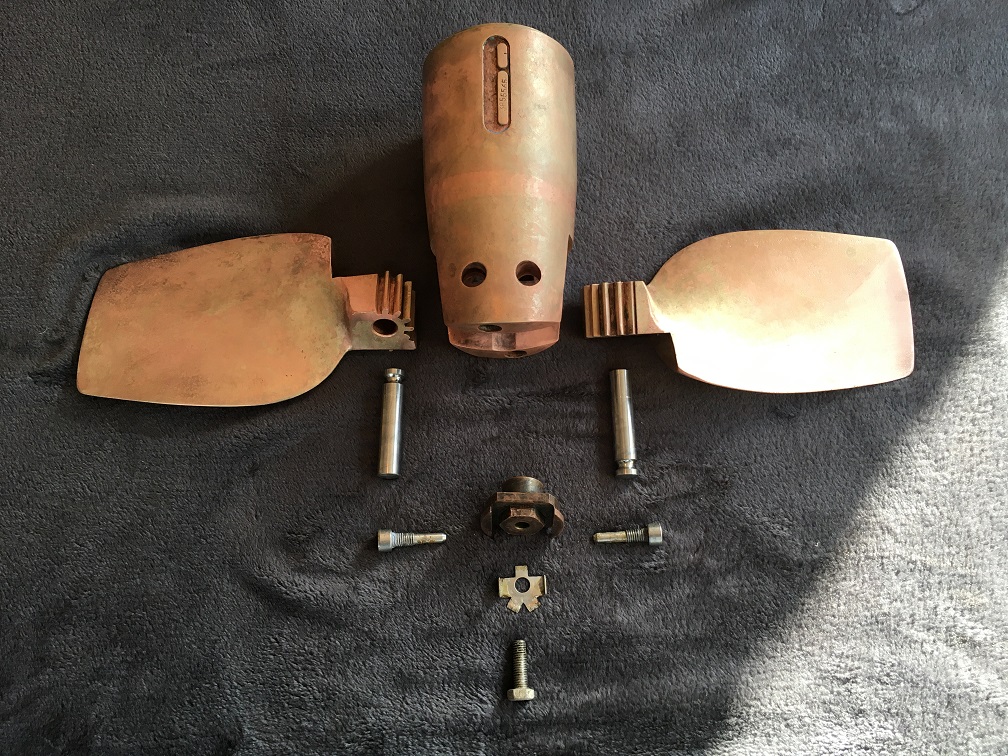
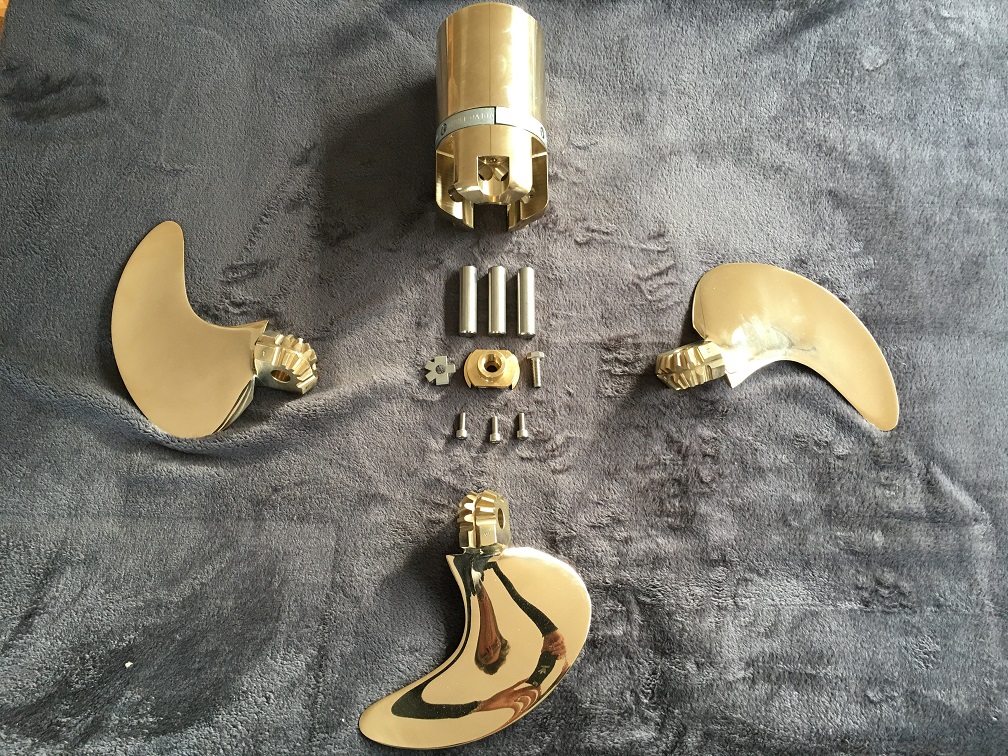
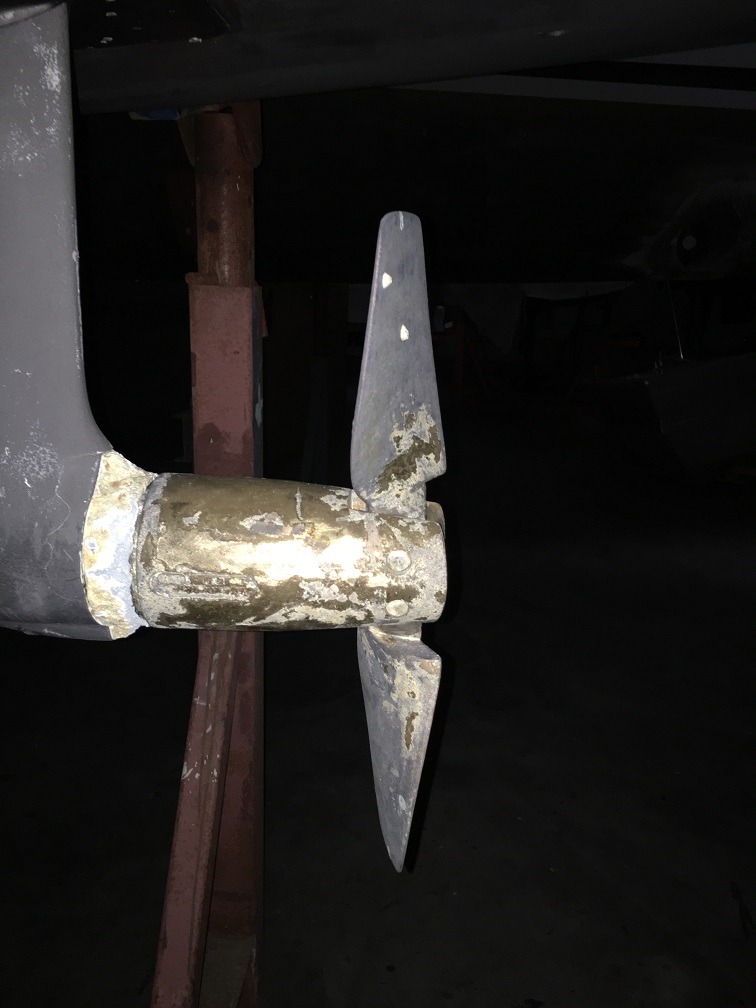
For 10 years now we have been sailing with a 2 blade folding propeller on the Saildrive and a Volvo Penta 2003 with 28 hp and every now and then I have wished for more power on the propeller in certain situations. Find here a report about the change from a 2 blade to a 3 blade Saildrive folding propeller.
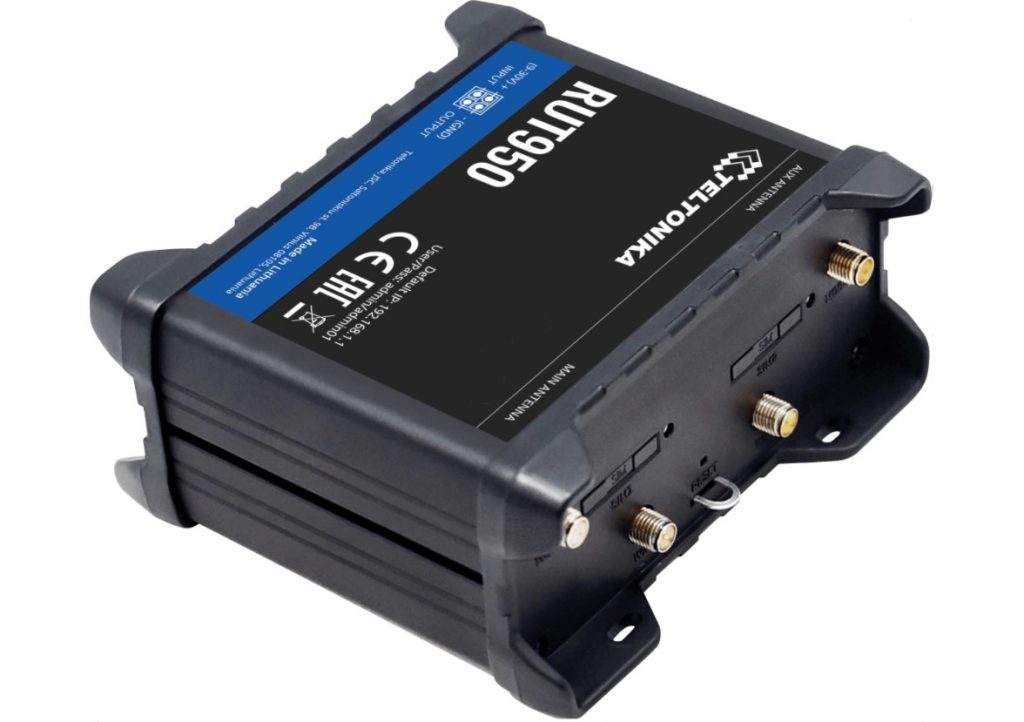
Please find here a field report on Internet on board (near shore) based on WiFi and mobile radio.
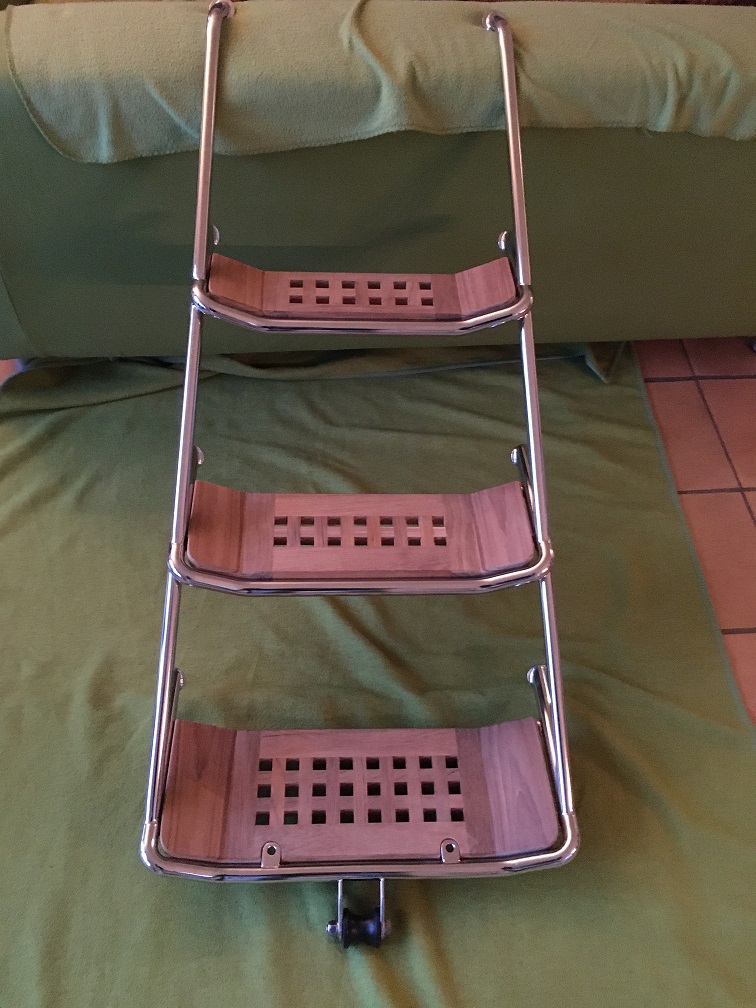
In summer we often lie “Roman Catholic” with the stern to the pier or bridge, if it fits halfway. Stepping over presented us with certain challenges due to the negative transom. To remedy this, we built a simple gangway that is halfway respectable, easy to handle and allows comfortable stepping over.
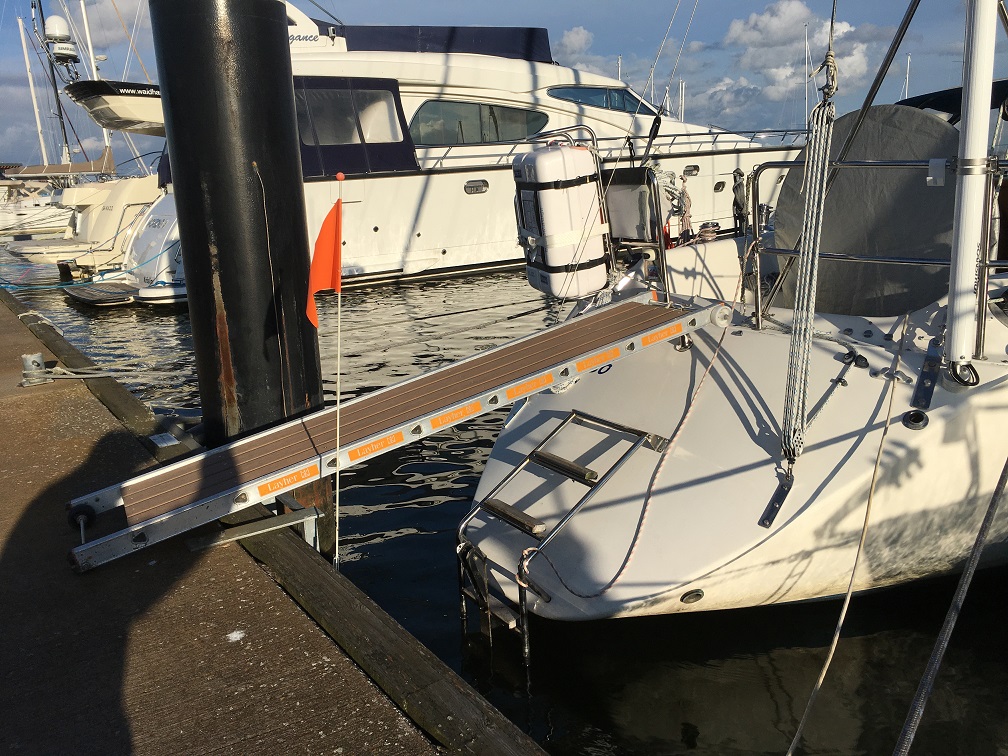
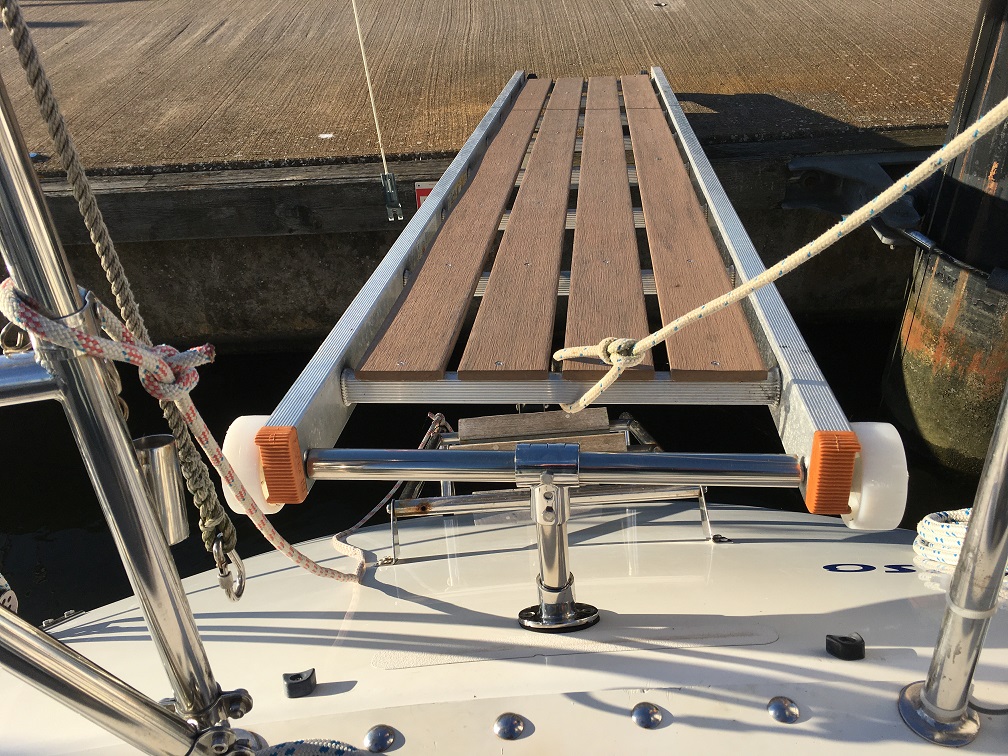
The basis is a simple 2.40 m long aluminium ladder from the DIY store. On one side of the rungs I screwed 10 mm thick plastic planks – also from the DIY store. At the upper and lower ends I inserted 12 mm threaded rods between the rails and put simple wheels on the threaded ends. On the shore side, the gangway lies on the wheels and simply rolls freely back and forth according to the ship’s movements.
At the on-board end, I pushed a piece of 25 mm stainless steel pipe over the threaded rod and a rubber hose. Attached to this is a corresponding T-piece that takes a short piece of stainless steel pipe for the bracket.
This means that the gangway can be deployed in just a few steps after mooring and can also be retrieved before casting off.
Material requirements and costs are kept within reasonable limits:
| Material | Preis ca. |
| 1 Aluminium Leiter ca. 2,50 m | 40,00 € |
| 1 Gewindestab 12 mm Edelstahl | 6,00 € |
| 1 Stück Gartenschlauch | |
| 1 Edelstahl Rohr 25 mm | 20,00 € |
| 4 Stoppmuttern + U-Scheiben 12 mm Edelstahl | 4,00 € |
| T-Verbinder für 25 mm Rohr Edelstahl | 16,00 € |
| 40 Senkkopfschrauben 5 x 20 Edelstahl | 4,00 € |
| 4 Rollen, Vollgummi oder Polyamid | 20,00 € |
| 4 x 2m PVC Fußleisten für den Aussenbereich | 24,00 € |
| Summe: | 134,00 € |
Every year in winter it’s the same: either you ignore the propeller, which is soiled with lime and algae growth, or you clean it laboriously. All methods, mechanical or chemical, that I have tried so far have been unsatisfactory and tedious. This winter I tried it with simple vinegar essence (20%) and the result amazed me. Here is a short video about it.

Please find here an user experience report about Timezero Navigator connected to Furuno DRS4D-NXT.
A venture in stainless steel and teak:
A report from the idea to the realization.
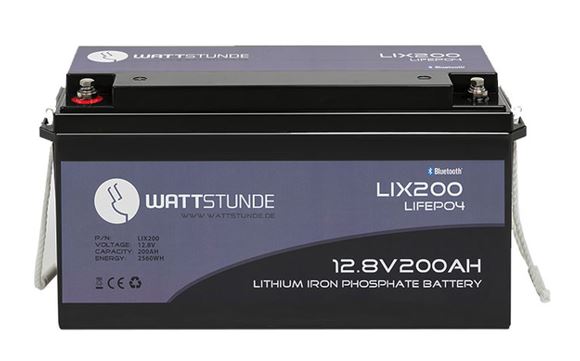
Please find here the report “Wattstunde” LiFePo Yachtbatterie mit 200 Ah