
DIY Project: Building a Mahogany Skylight
In the winter of 2025, we sold our beautiful and beloved Finngulf 39 and bought an old Dutch steel cutter.
What really caught our eye about the cutter was the large salon with its many large windows. On the roof of the salon was a rather heavy and ugly hatch, measuring about 1.80 x 1.00 m. The hatch could be tilted open and on top there were two ancient photovoltaic modules installed.
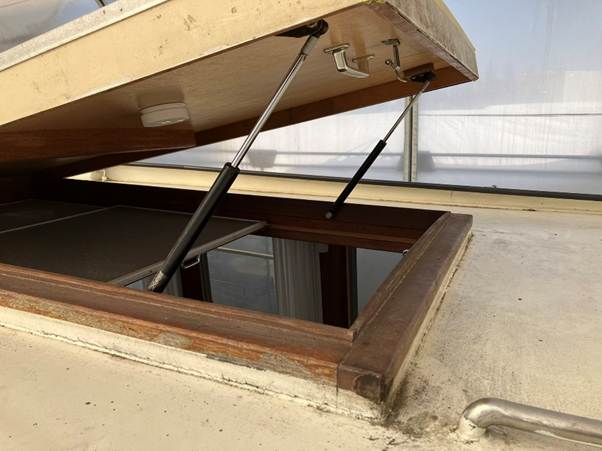
It quickly became clear to us that we wanted to replace this unwieldy and ugly thing with a classic mahogany skylight consisting of six large window wings..
As a custom-made item, something like this is, of course, prohibitively expensive, so the only option left was to build it myself. I looked at some nice examples and ideas in the online magazines Wooden Boat and Classic Boat:
How to build a skylight – Classic Boat Magazine
Building a Butterfly Skylight – Mastering Skills with the WoodenBoat School
From the very beginning, I had the utmost respect for the dovetail joints on the frame pieces. To get even a basic idea of how it worked, I looked at the classic instructions for open dovetail joints on a german woodworking advice website:
Offene Zinkung – Traditionelle Holzverbindung
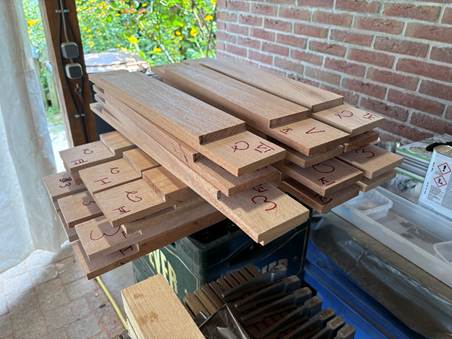
Then, based on a sketch, I roughly calculated the quantity and dimensions of the wood I would need:
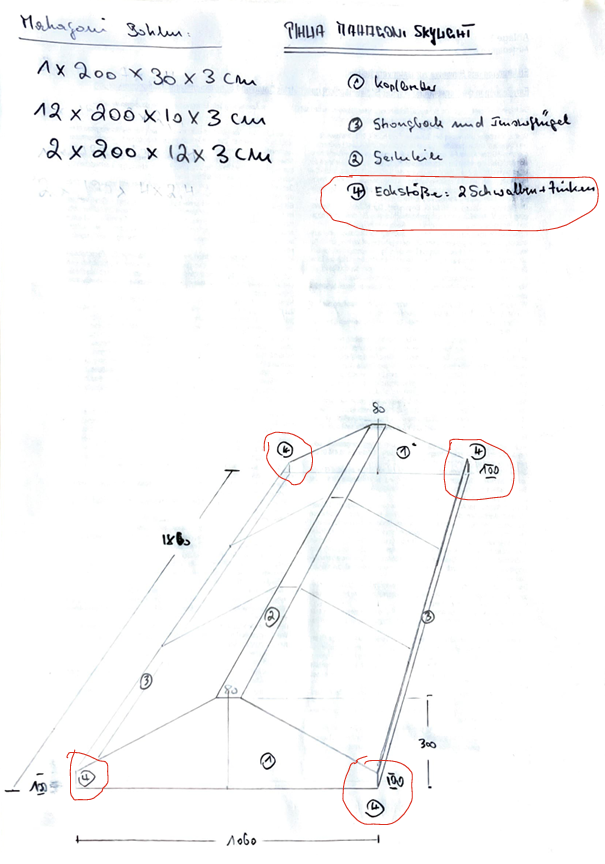
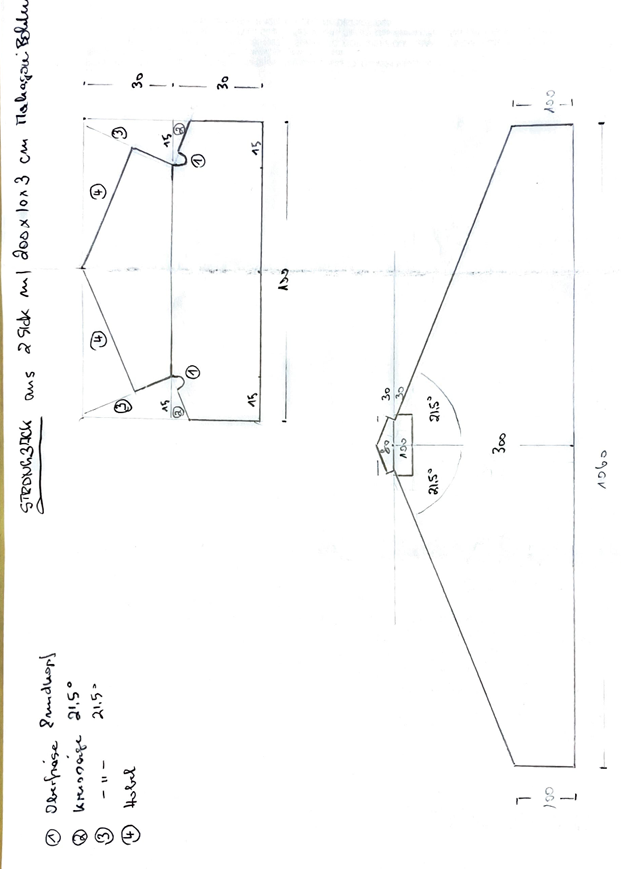
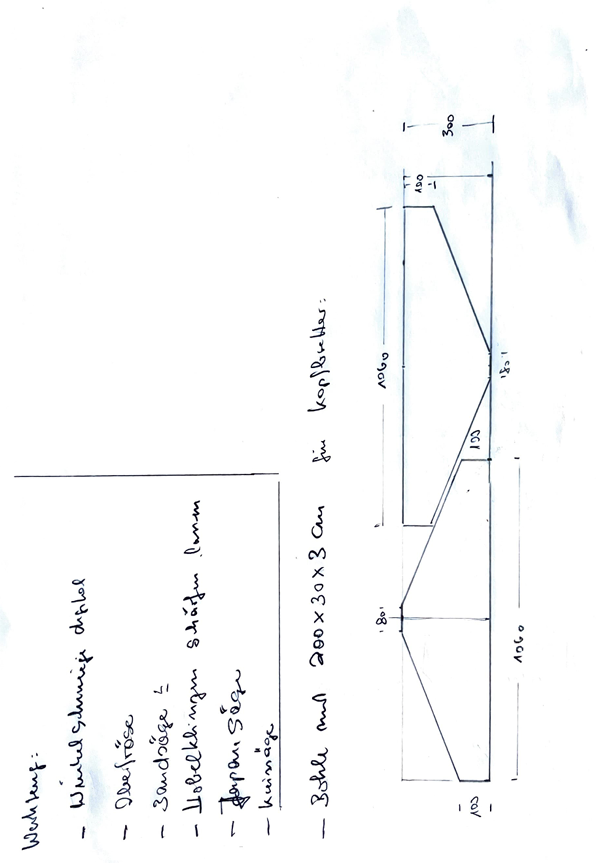
My plan was to build it out of solid mahogany. I bought the wood from a dealer near Paderborn who was able to roughly cut the pieces to size for me and plane them to the exact thickness I wanted.
From the very beginning, the biggest challenge was clearly the dovetail joints—that is, the traditional way of joining the wooden parts of the frame using so-called dovetails. I practiced it over and over again with a Japanese saw and a chisel, first on pine planks, then—as I gradually got better—on the harder and finer mahogany. But even after more than 30 attempts, I was unable to saw or cut all the edges exactly at the desired angle. There was always an unsightly gap or space somewhere.
I finally found the solution on Jonas Winkler’s YouTube channel. The tenons and dovetails can be milled out of the end grain relatively easily and very cleanly using a suitable router bit (click on the image to watch the video):
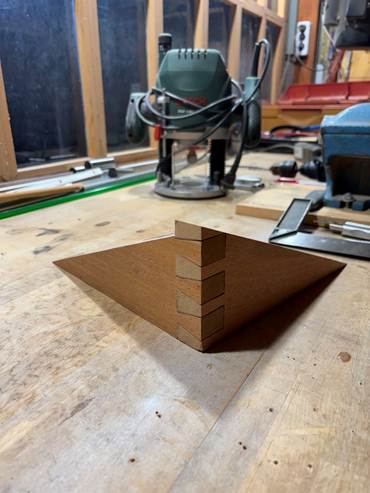
Of course, it looks much easier in the video than it actually is. But with a little practice and some homemade templates to guide the router precisely, you can achieve impressive results very quickly.
Once I was confident being able to handle the dovetail joints, I began cutting, planing, and routing the wood. In addition to the router, the most important tools were a circular saw, a miter saw, an electric planer, a random-orbit sander, and an electric file for certain fine details..
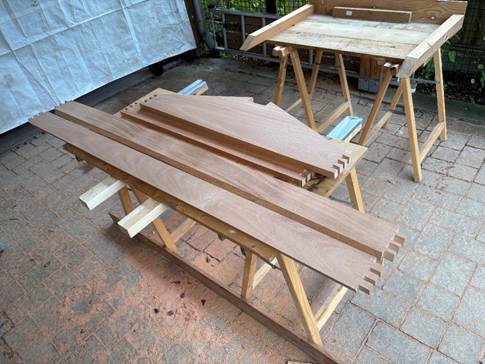
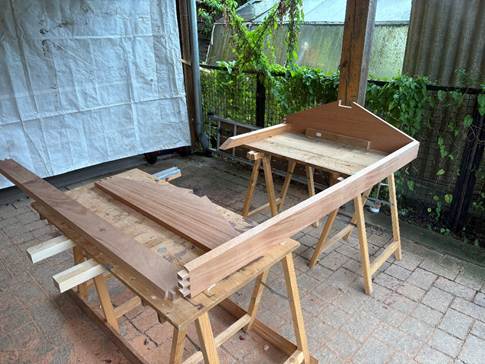
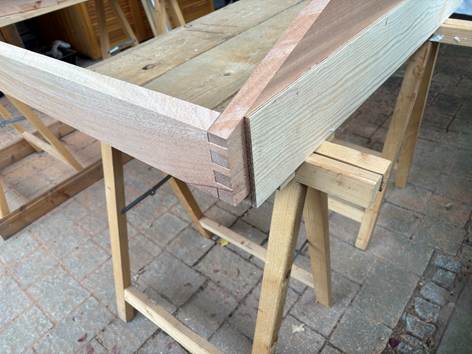
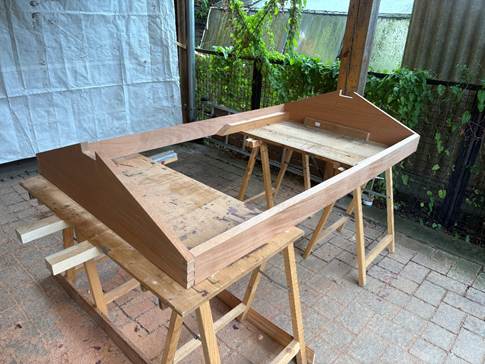
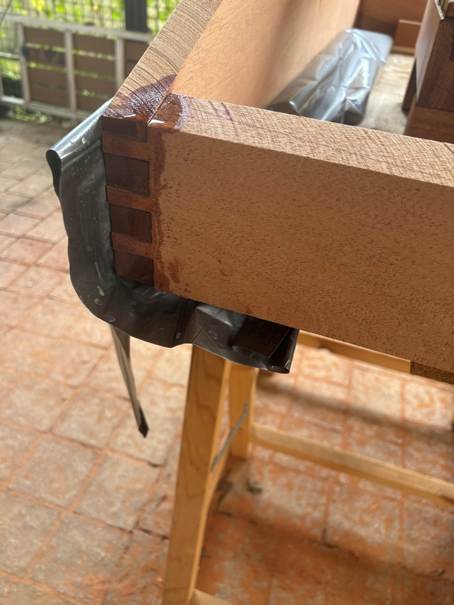
Before permanently bonding the frame parts together with two-component epoxy adhesive, the parts were carefully assembled without adhesive and aligned on a prefabricated base to ensure that the dimensions and angles were correct when glued together.
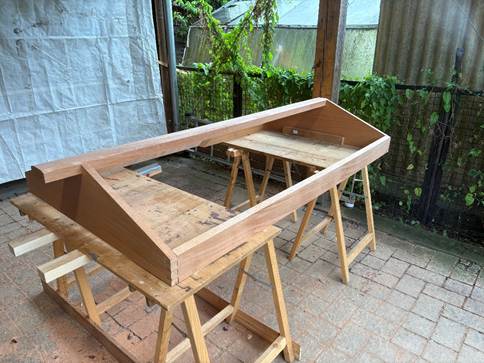
The platform used for alignment must be secure and stable, yet flexible enough to allow the four main parts of the frame to be assembled and glued together one after another. Once a joint has been glued, it should ideally not be moved or subjected to stress while the next part is being inserted. It’s not as easy as it sounds!
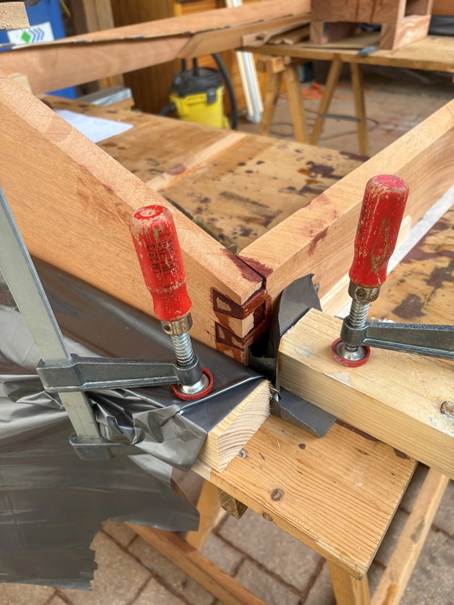
When raw mahogany first comes into contact with epoxy resin, it takes on a reddish hue: a rich, dark red in the end grain and a soft red along the grain.
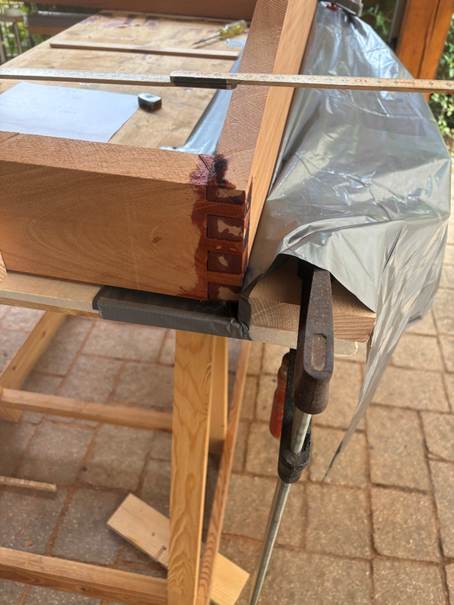
A slightly thicker PE layer is enough to prevent the parts from sticking to the workbench.
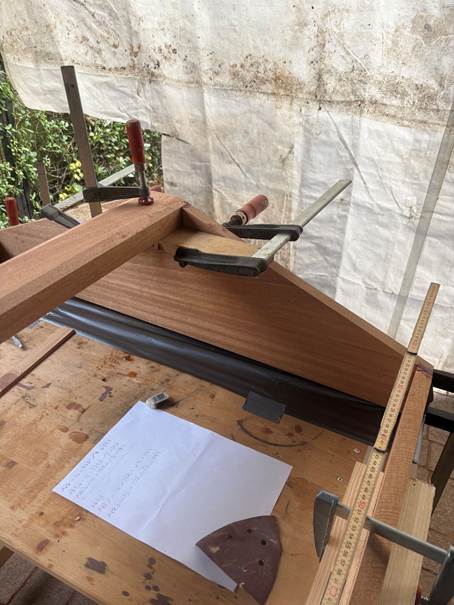
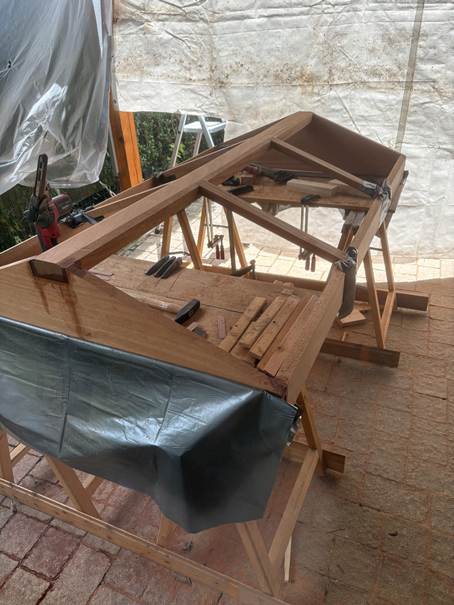
The ridge beam is made from two separate pieces, which are shaped individually and then glued together in place. The lower section houses the cross-braces.
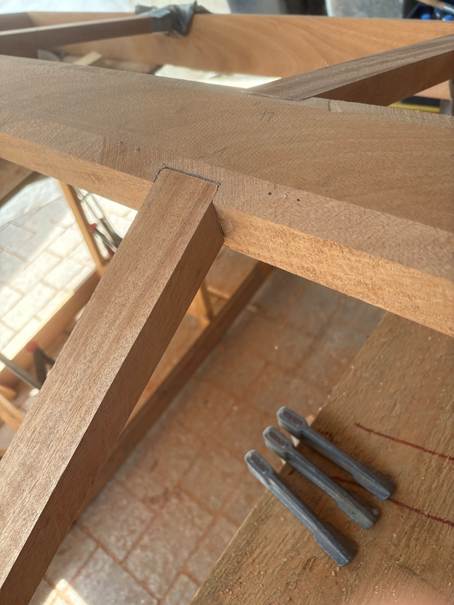
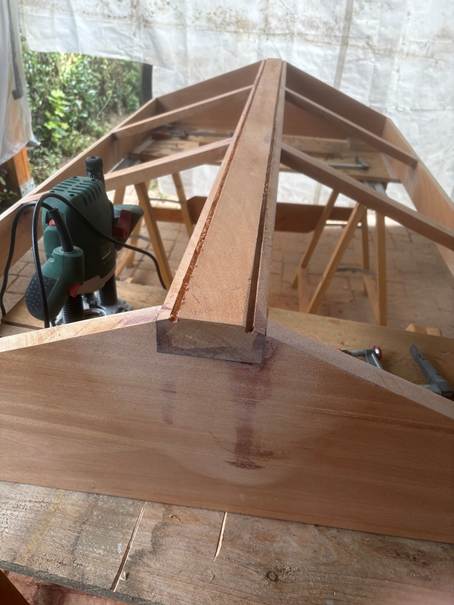
Before the upper section of the ridge beam can be installed, grooves must be milled into the lower section and the cross-braces to allow rainwater to drain away later.
Next, the individual parts for the window sashes are prepared—including a groove for the panes to be inserted later—and joined together using an overlapping joint.
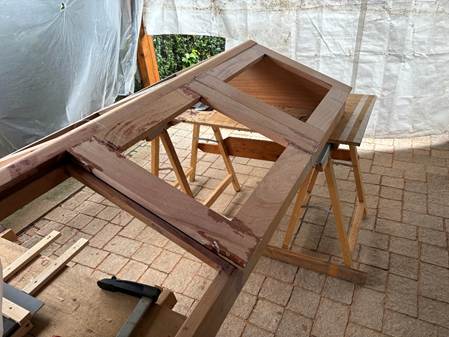
The upper part of the ridge beam has already been glued in place. The finished windows wings are placed on the beam to see if the gap dimensions and groove alignment are correct.
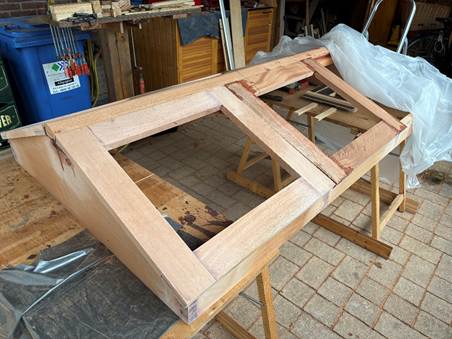
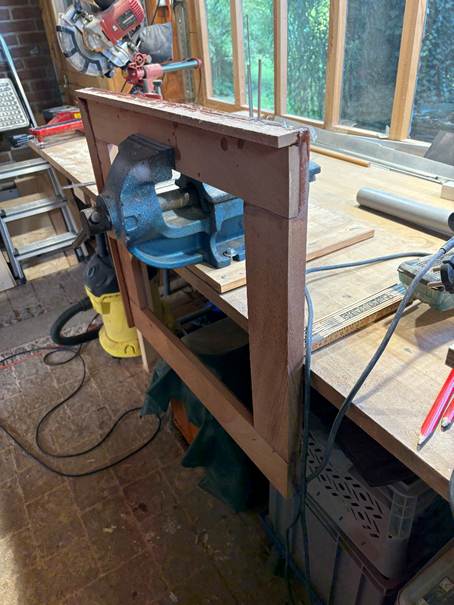
Next, the window wings are fitted with weatherstripping on the outer sides to prevent wind and water from entering. To facilitate this, grooves must be milled into the sides of the window wings at the ridge ends.
Here’s what the finished, painted frame looks like without the window wings:
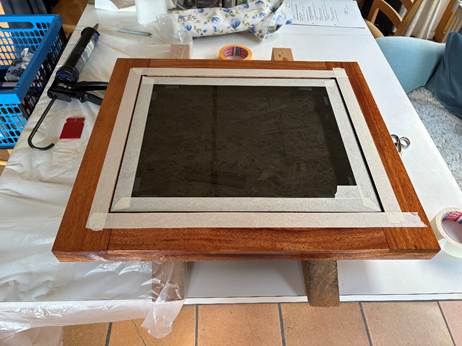
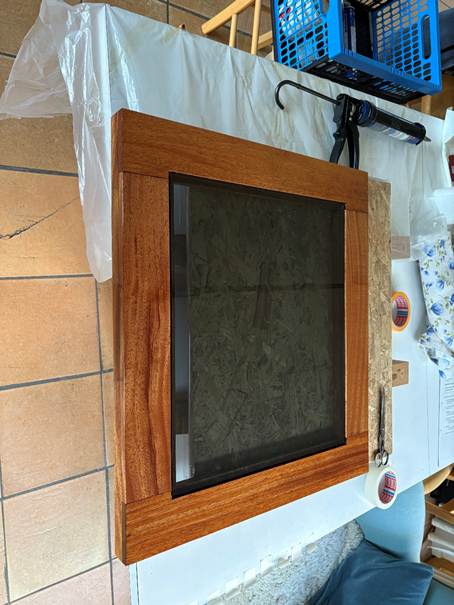
The panes (8 mm safety glass, gray-tinted) are now being glued into the prefabricated and painted window wings.
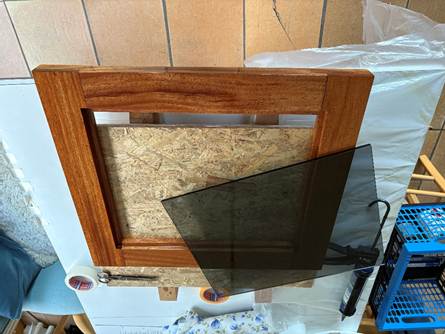
Auf die Außenkante der Scheibe wird Kleber aufgetragen …
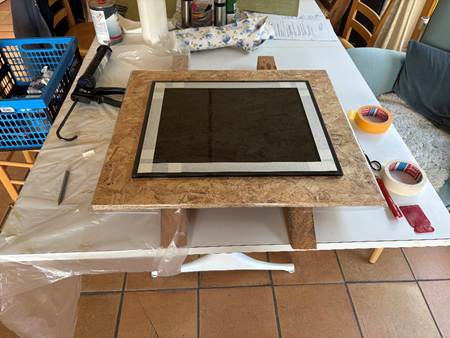
… and the pane is then pressed into the frame from the bottom until the adhesive has fully cured.
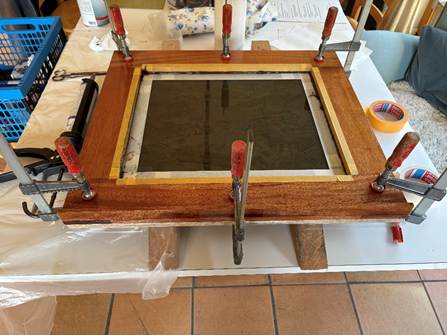
Then, the groove between the window pane and the frame is also filled with sealant from the top.
Proper preparation of the substrate and ensuring a sufficient joint width are absolutely critical to success, since glass and wood expand at different rates.
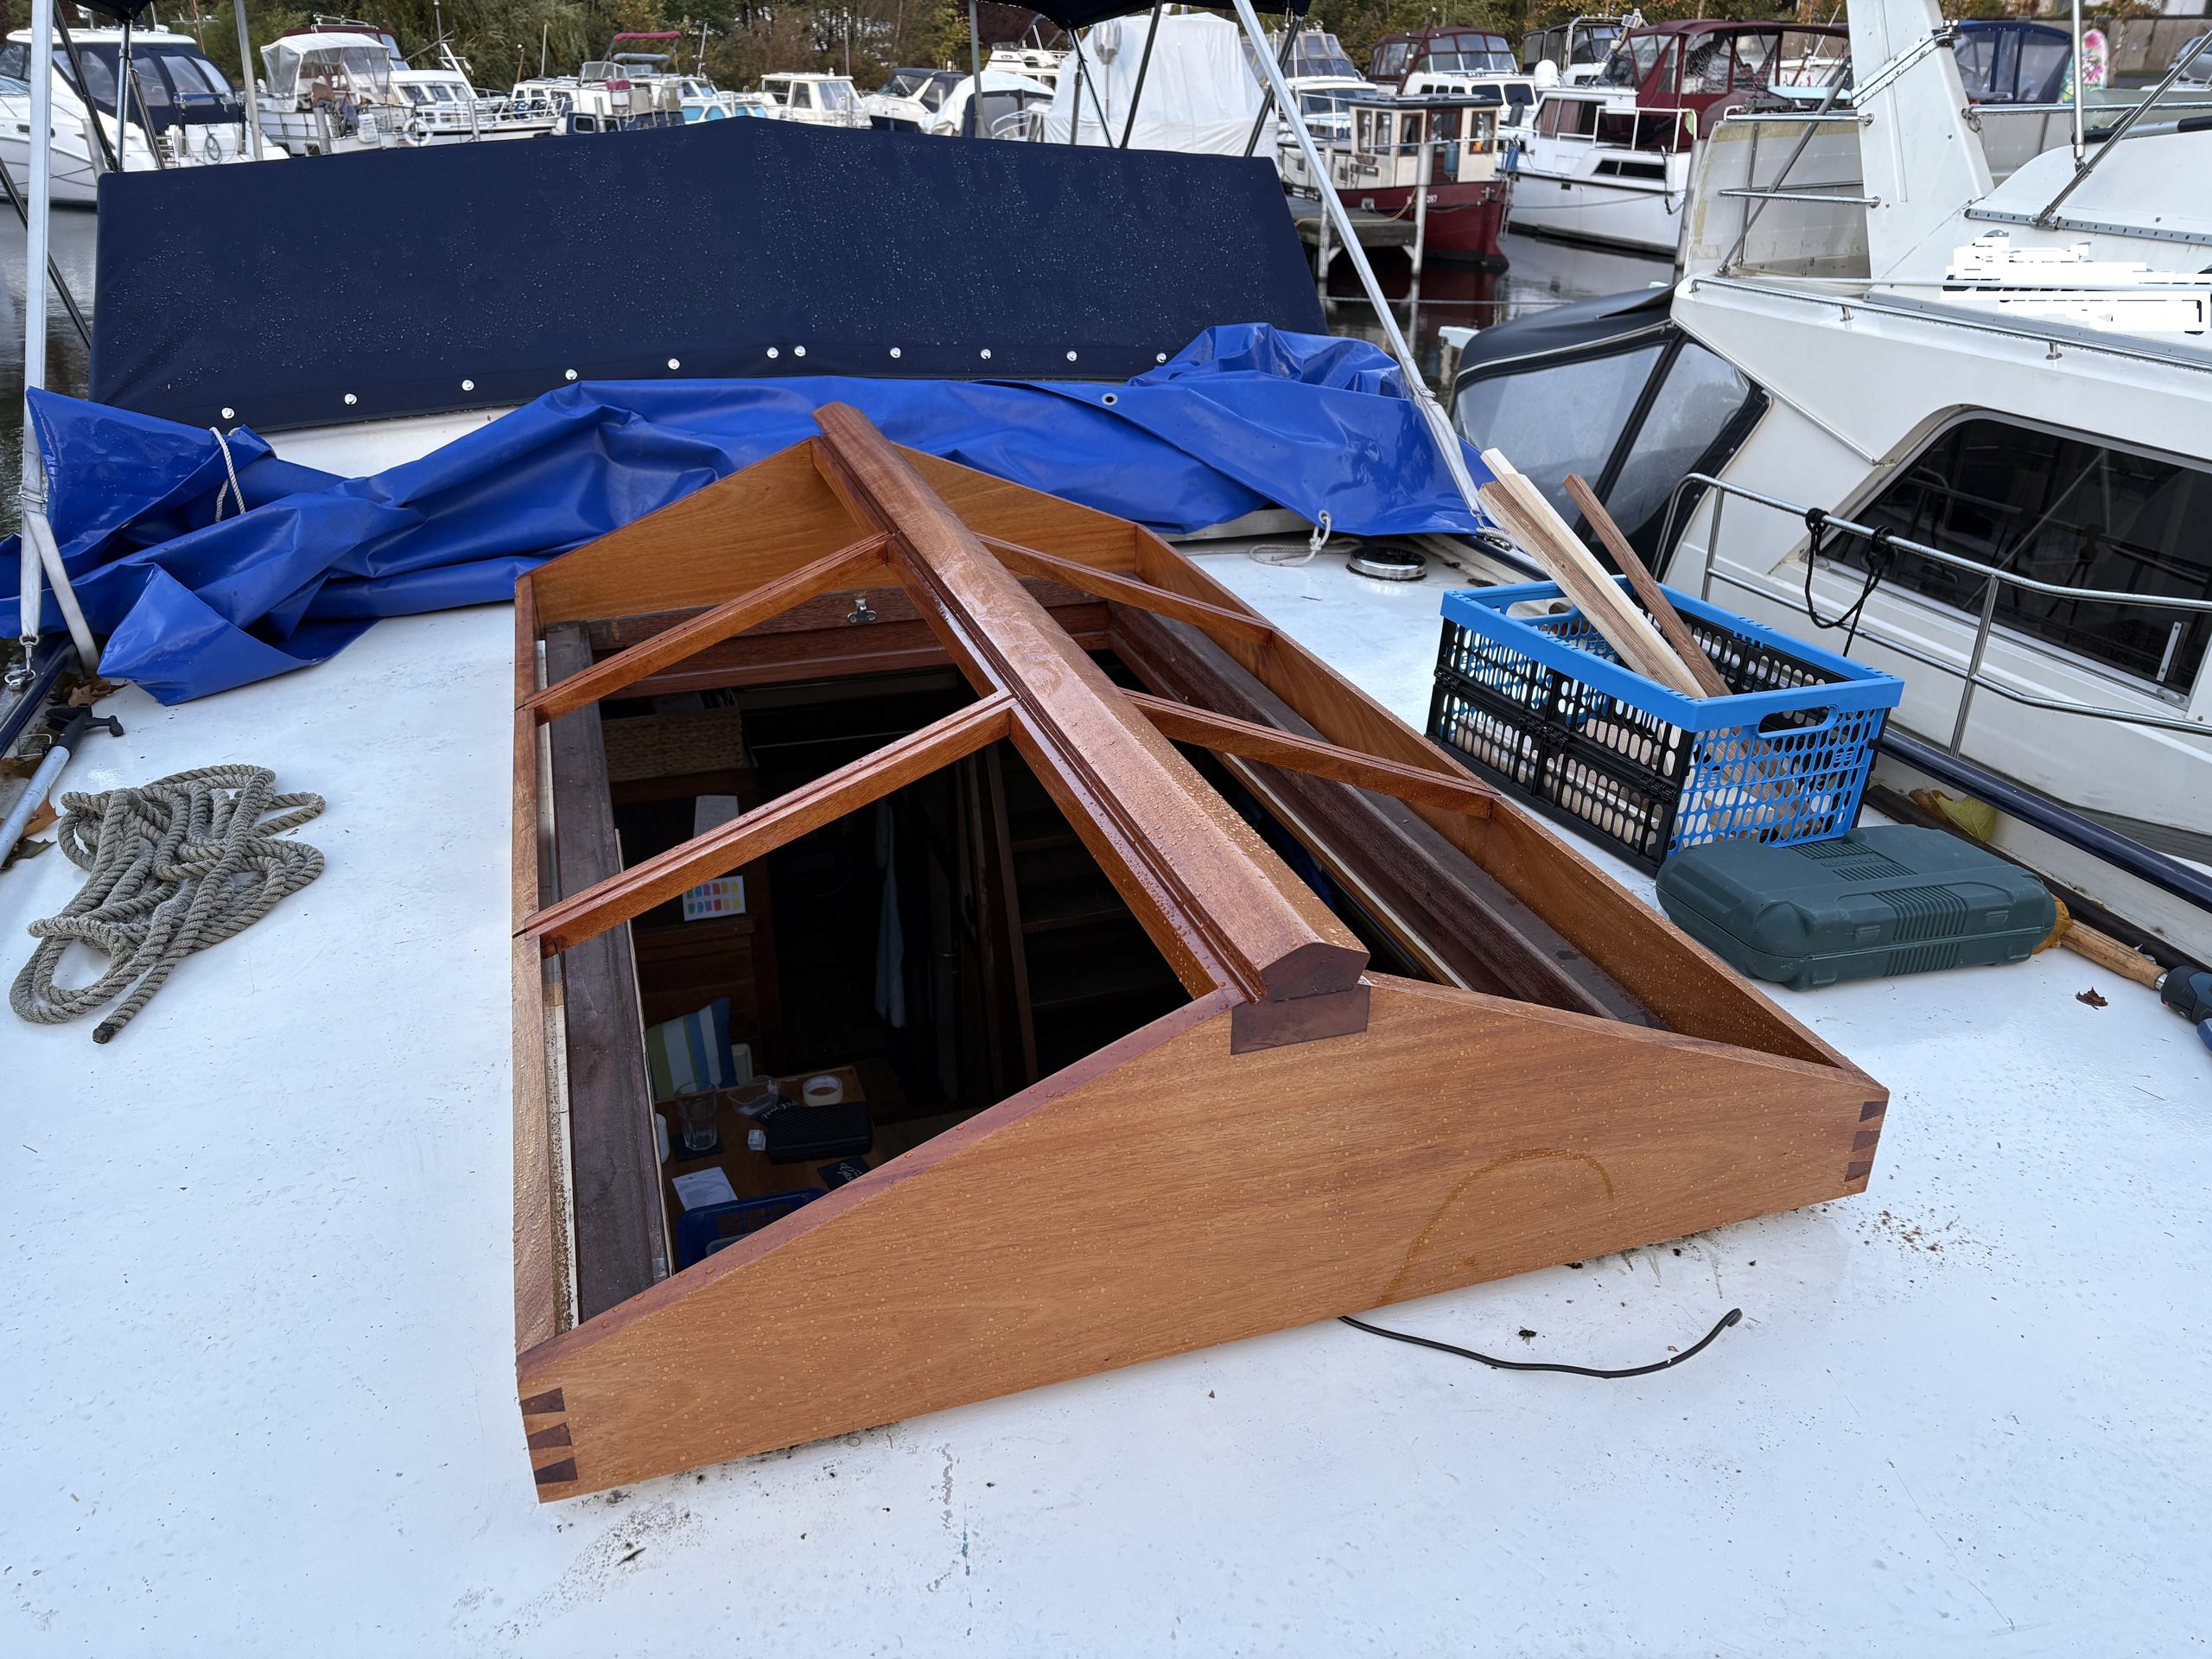
Here you can clearly see that the ridge beam consists of two planks glued together.
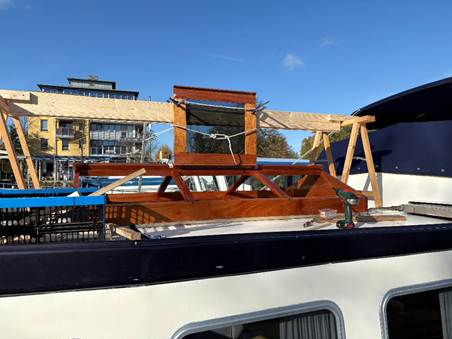
The door panels are installed using a support structure that makes it much easier to align them correctly when screwing in the piano-style hinges.
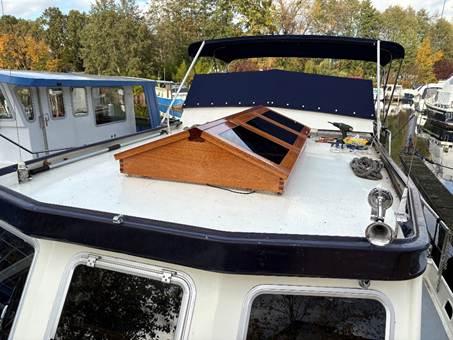
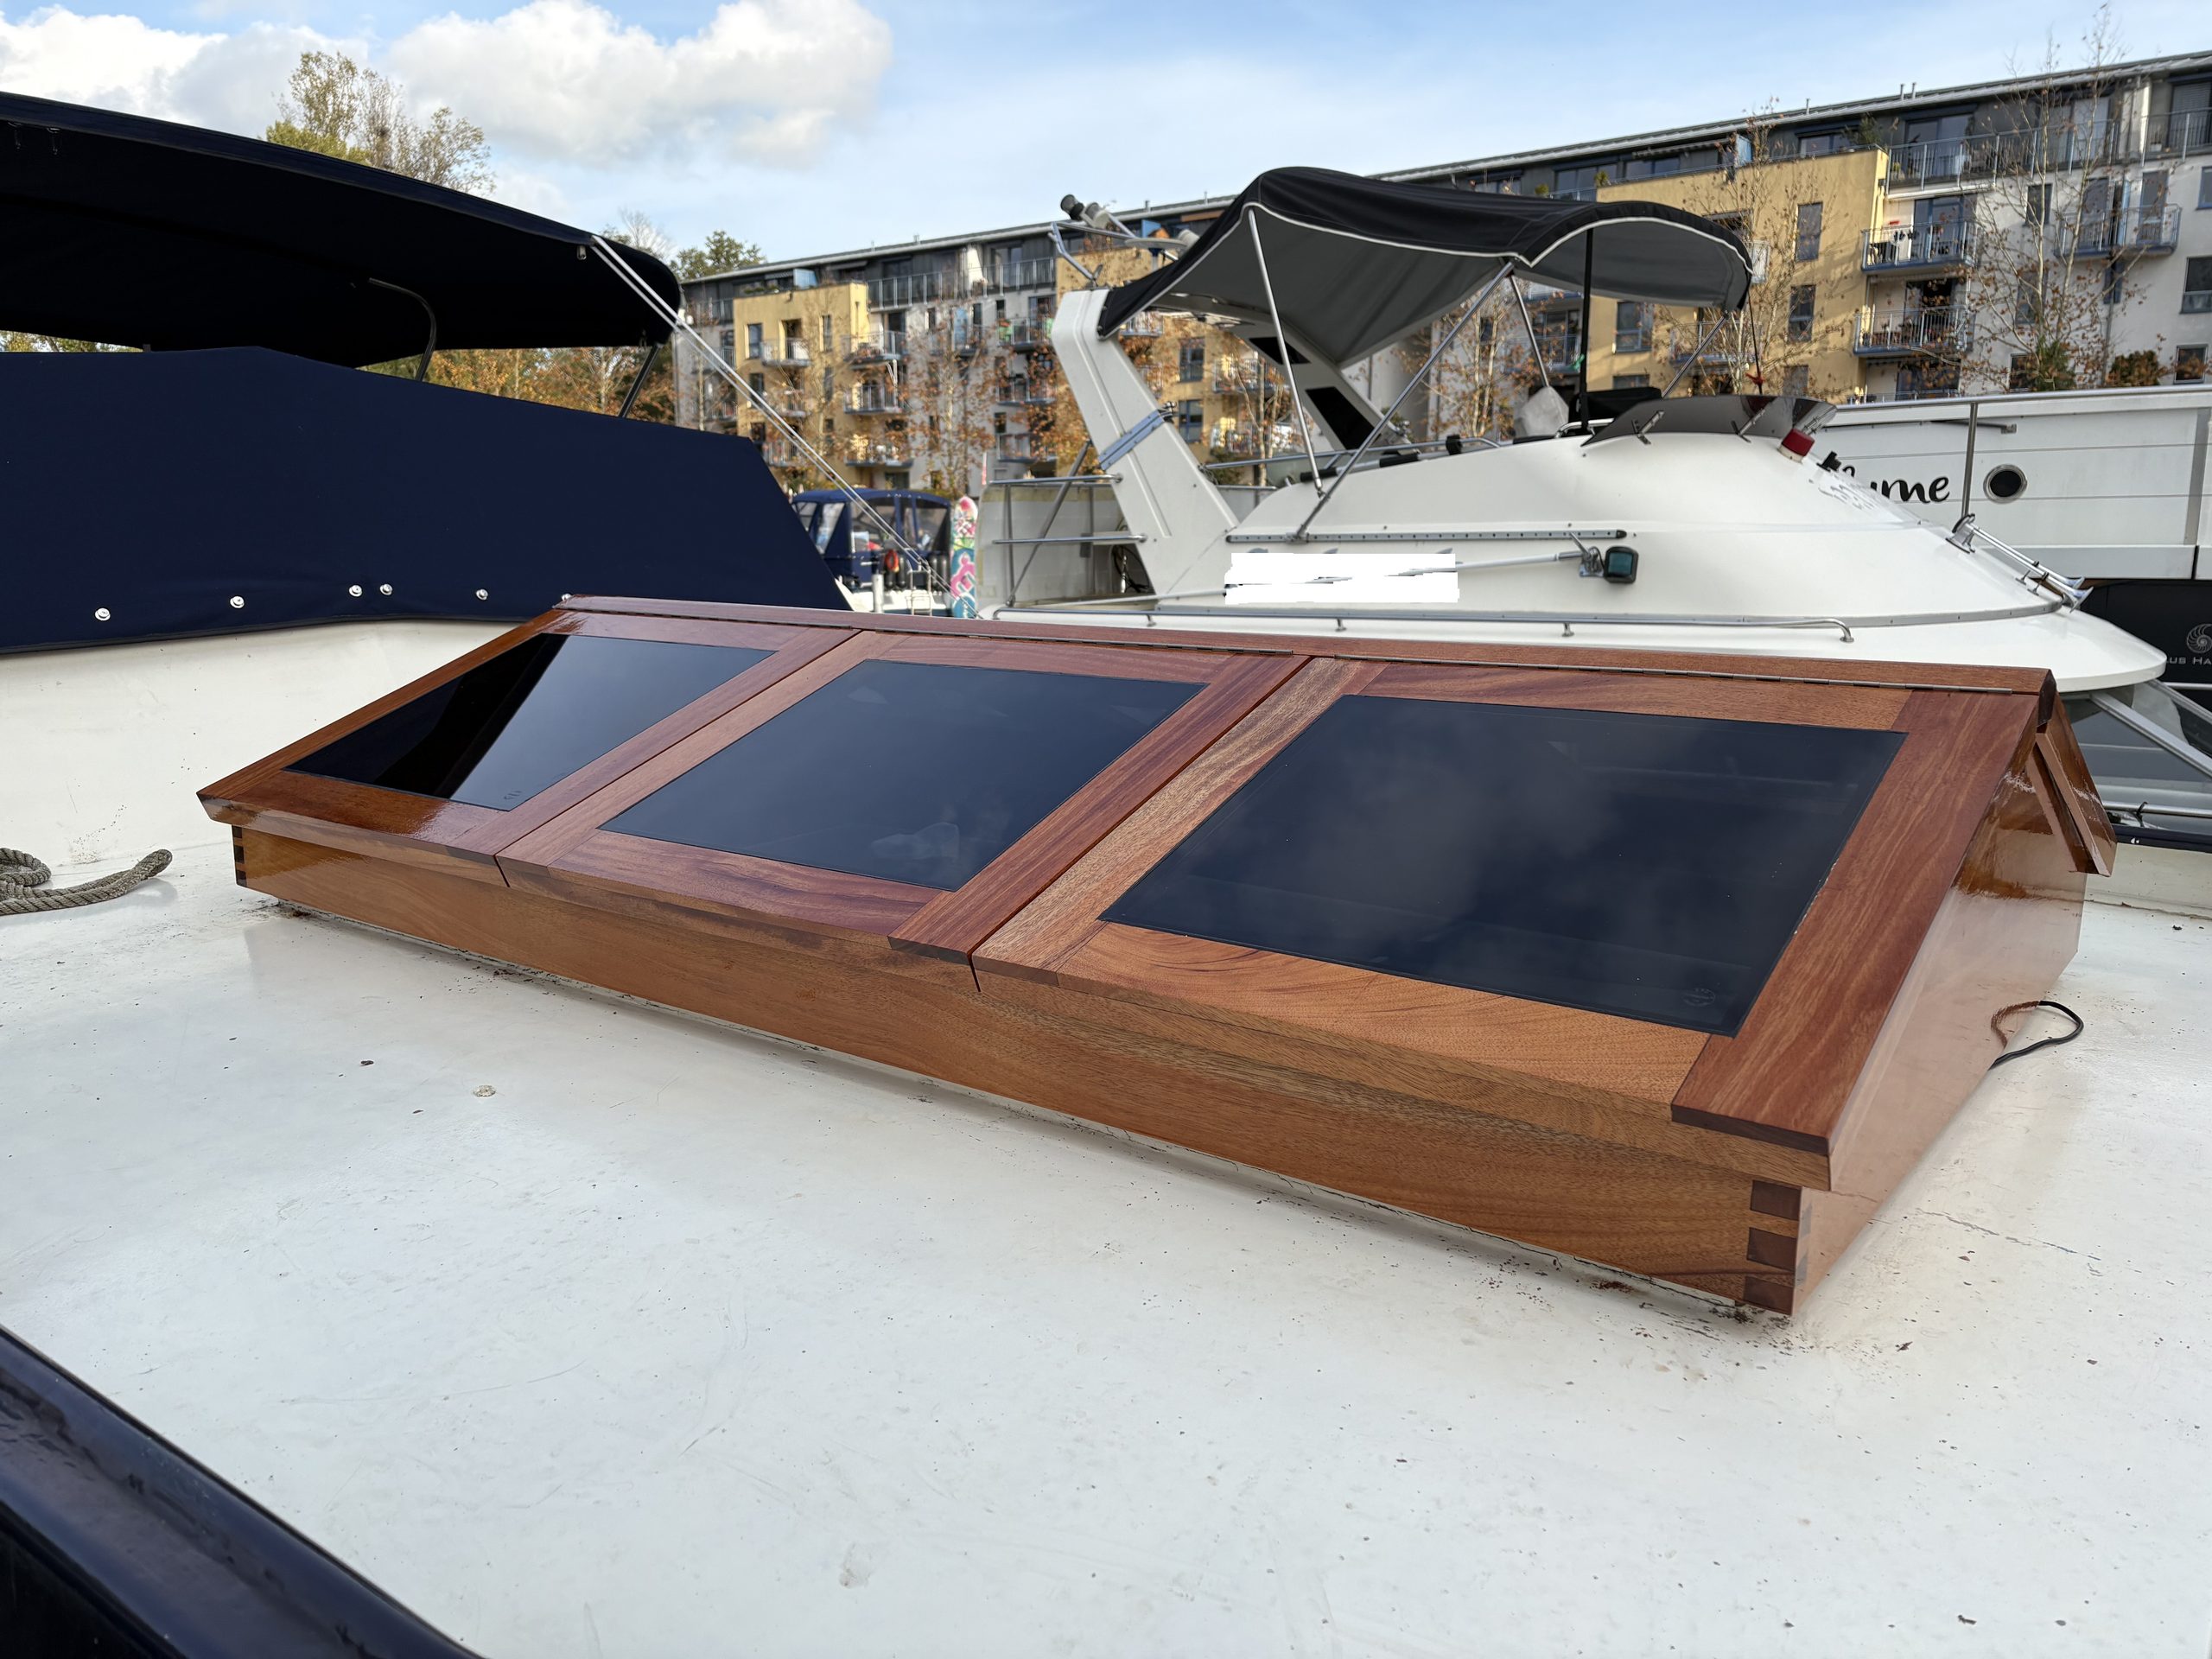
This is what the finished piece of artwork looks like from the outside.
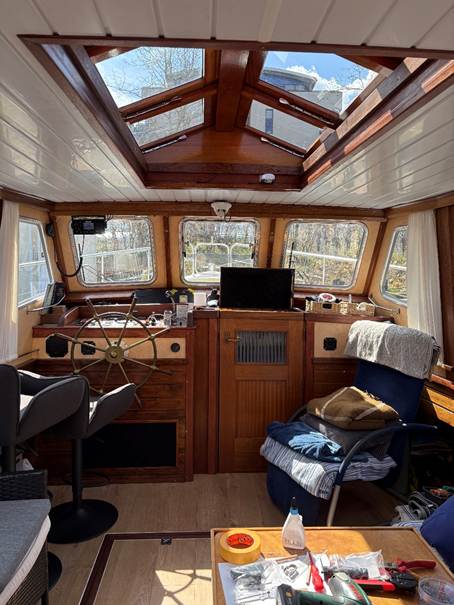
And this is what it looks like from the inside. The living room is now bright and warm. An insect screen allows you to leave the window sashes open in the summer if needed. Traditional window catchers for securing and locking the windows.
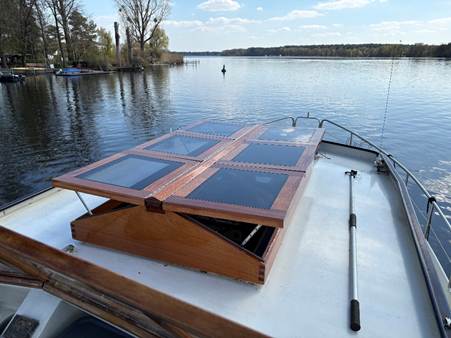
All in all, I’m sure about 120 hours of work went into the build. However, I started from scratch because I was doing a lot of things for the first time, especially routing and gluing in the panels. For the routing work, I took the time to build jigs for each step so I could guide the router safely. Even a minor slip with the router is enough to ruin a workpiece or require a time-consuming repair. The time spent building the jigs and conducting tests far exceeded the time required for the actual routing.
But it was worth the effort—the result is truly a feast for the eyes!