
Experience Report on Building a Wooden Dinghy from Scratch
In the end, I decided to build my own Tenderly dinghy from Chesapeake Light Craft | Boat Plans, Boat Kits, Boatbuilding Supplies. The company has a well-established partner in Berlin: Berger Boote Berger-Boote. The kit includes all the necessary boat-building materials, CNC-milled in advance, and you assemble the individual parts using the so-called “stitch-and-glue” technique.
To understand the process and estimate the effort involved, I first had the building instructions sent to me and worked through them. Focusing on the rowboat version, I looked at each individual step and tried to assess it in terms of whether it could be done single-handed and the estimated effort required. The result was a sort of project plan with estimated workloads:
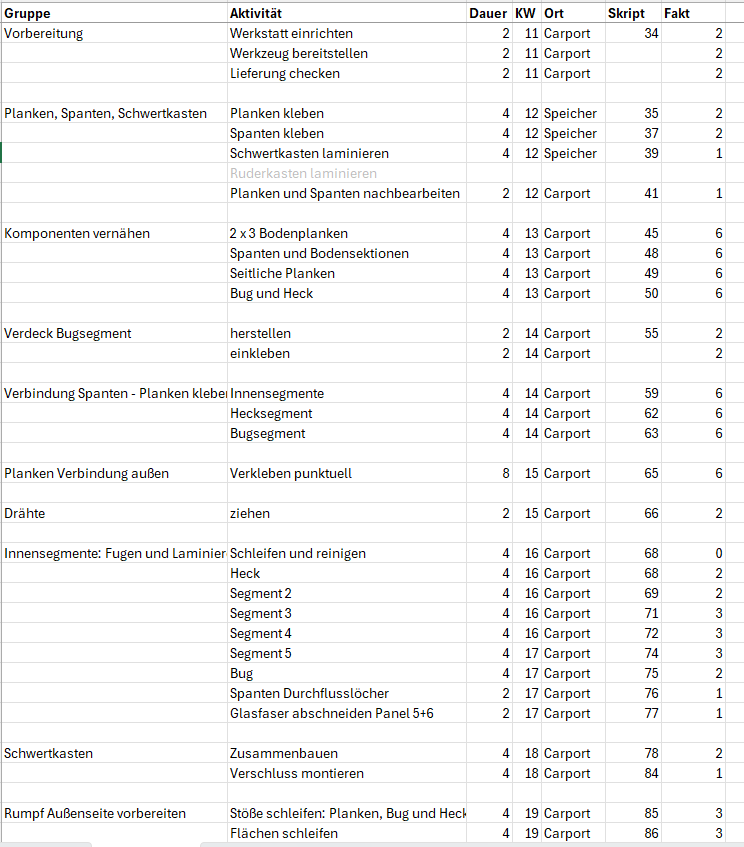
In the end, I arrived at a very conservative estimate of 250 hours of total work for the rowboat version; in reality, it ended up taking about 190 hours.
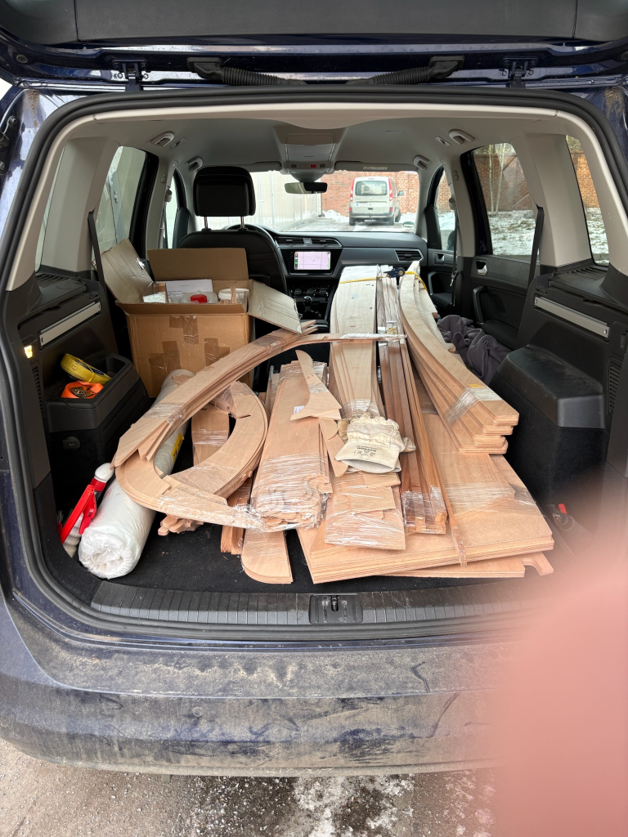
As I worked my way through the manual, I naturally had a few questions, which I then discussed with Lutz Berger during an on-site visit to the workshop. His friendly and informative manner, as well as the well-equipped workshop and the chance to see some of the boats he had already completed, encouraged me to give it a try. About three weeks after placing the order in late February, I was able to pick up the prefabricated parts and the materials. Everything fit easily onto the trunk of a car.
In the meantime, I had set up a temporary weather shelter over our carport—which measures about 8 x 4 meters—and converted it into a workshop.
Prefabricating Frames and Planks
The first step was to glue the 14 planks and 5 frames together from their individual parts using epoxy resin. Since the temperatures in my makeshift workshop were still too low in March, I did this in the heated attic.
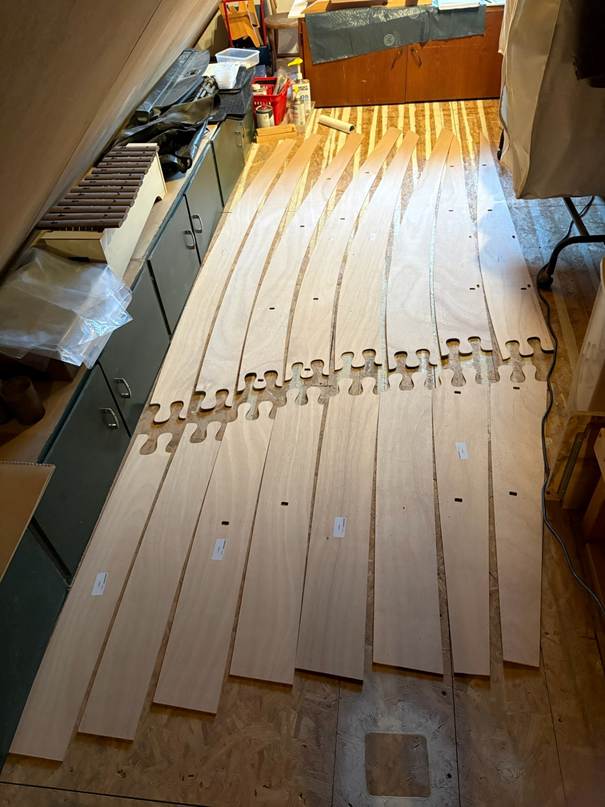
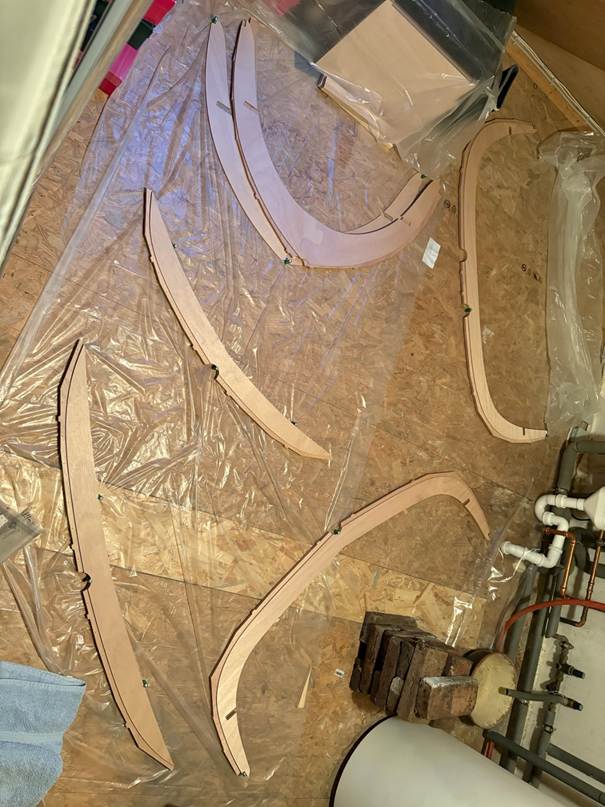
Once the resin has fully cured, all bonded areas must be sanded. The frames are milled to a rounded profile on the top side and also coated with epoxy for the first time.
Assembling the hull
Then the stitching begins—that is, the process of joining planks and frames to form a boat hull using thin copper wires, which are threaded through pre-drilled holes in the planks and frames and twisted together.
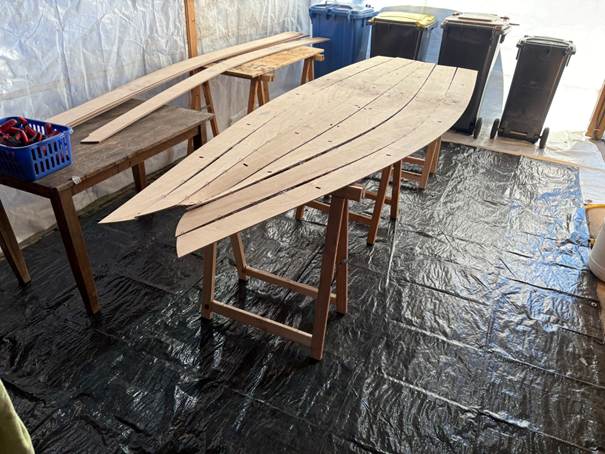
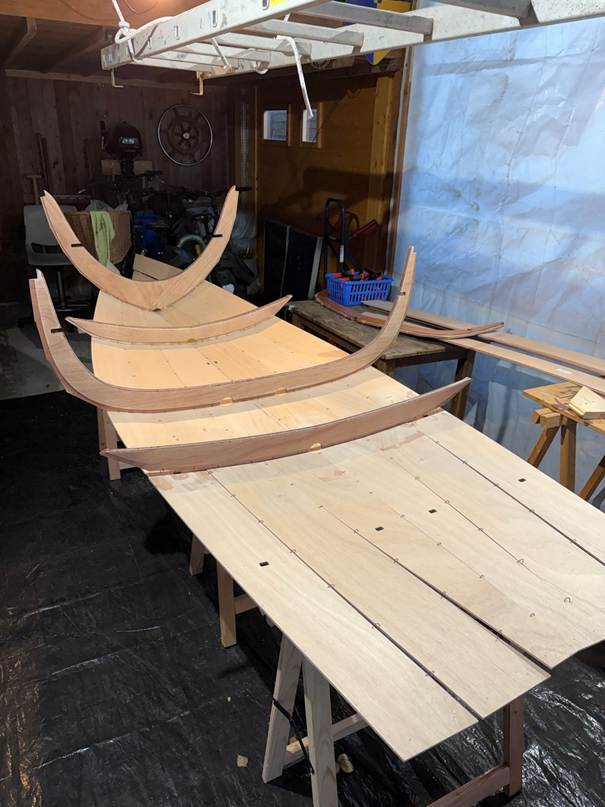
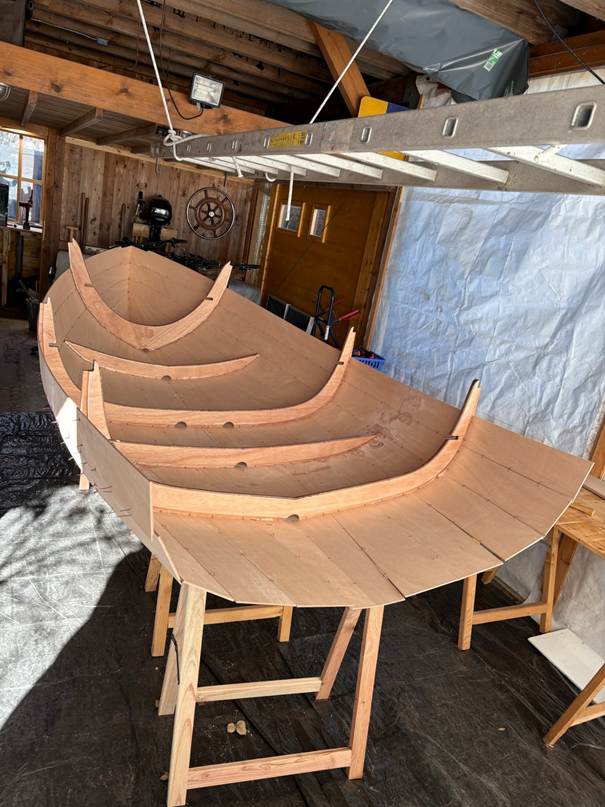
Although this looks simple, it requires a certain amount of skill and finesse when twisting the wire. On the one hand, the planks should fit as tightly and seamlessly as possible both to each other and to the frames; on the other hand, you need enough play in the joints right up until the end to achieve cleanly contoured hull surfaces and a properly aligned bow or keel line..
The planks are made of 4- or 6-mm okoumé marine plywood and are fairly easy to work with. In a few places where the joints overlapped, the pre-milled parts required minor reworking to ensure a perfect fit.
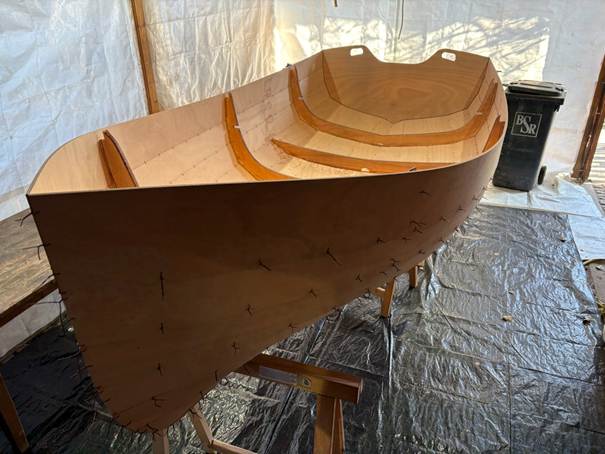
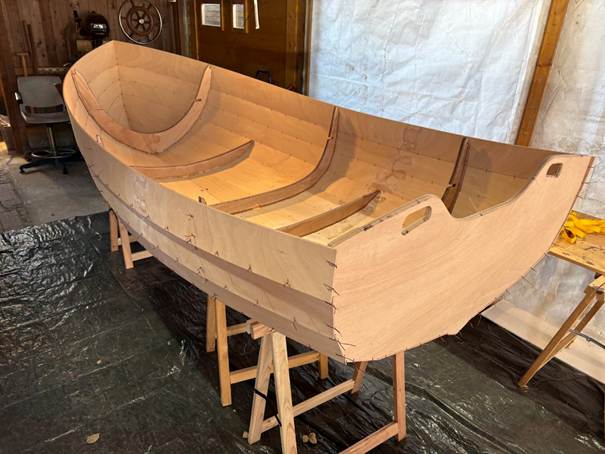
After just a few days of stitching, the result—at least in terms of its outer contours—already looks like a real boat. Assembling the hull provides the greatest and quickest sense of accomplishment relative to the effort involved. All subsequent steps are more laborious and time-consuming on the way to the final result.
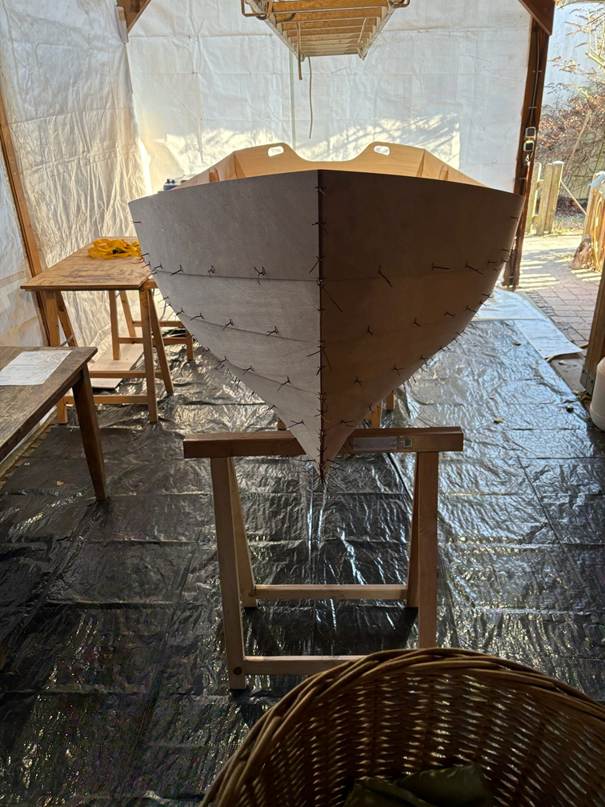
Next, the breast hook must be constructed from two mahogany pieces and fitted into place. The challenge lies in adjusting the angle of the gluing edges—both between the two individual parts and relative to the planks. At the same time, the front ends of the planks must be bent backward with considerable force and secured to achieve the desired harmonious shape of the bow. From a boatbuilding perspective, this is the trickiest part of the project.
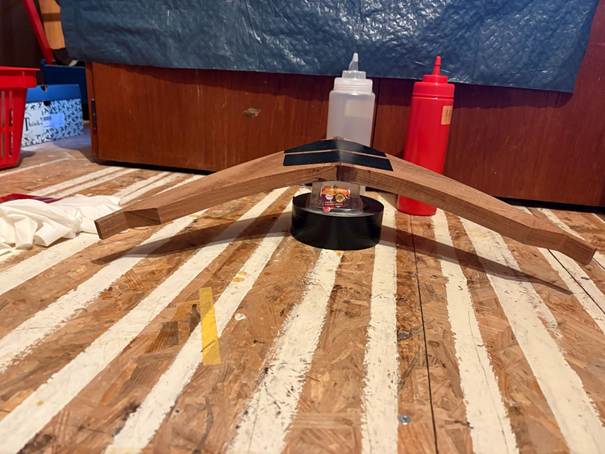
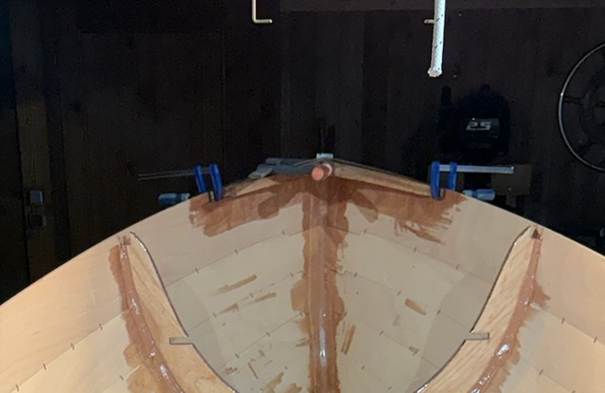
Of course, the rear edges need to be milled to a rounded shape here as well.
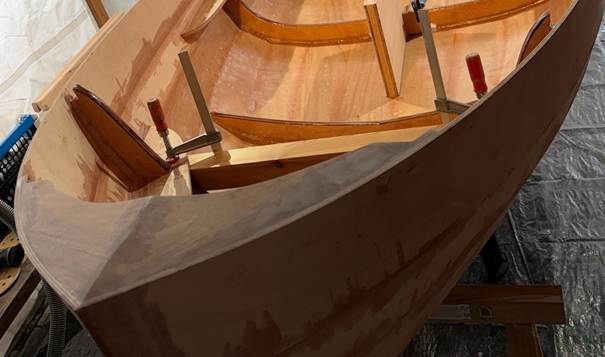
Gluing Frames and Planks Together
Next, the joints between the frames and planks are filled with thickened epoxy putty. The edges of the frames have recesses facing the planks to maximize the bonding area with the epoxy joints. It takes a while to get the hang of how to make the joints nice and smooth.
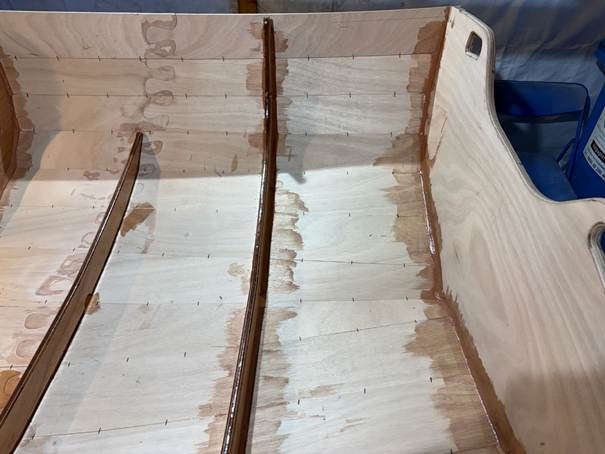
These steps must be completed under time pressure, as is generally the case with all epoxy work. Depending on the ambient temperature, you have about 20–30 minutes of working time, and the amount mixed must, of course, be adjusted accordingly. If necessary, it can take a little longer, but the consistency of the resin mixture will then quickly become thick and lumpy, and working with it will no longer be enjoyable.
To get the surface of the joints nice and smooth, you can gently and lightly wipe the surface—which has already begun to set—with a cloth soaked in alcohol after about 4–6 hours.
At the bow, the joints between the planks are also bonded from the inside with a thick layer of epoxy filler, which is then reinforced on both the inside and outside with a layer of fiberglass.
Once all the planks have been securely attached to the frames from the inside, the hull is carefully turned over, and the joints between the planks are glued at specific points, leaving a small gap between the wires—taking care, if possible, not to glue the existing wires in place.
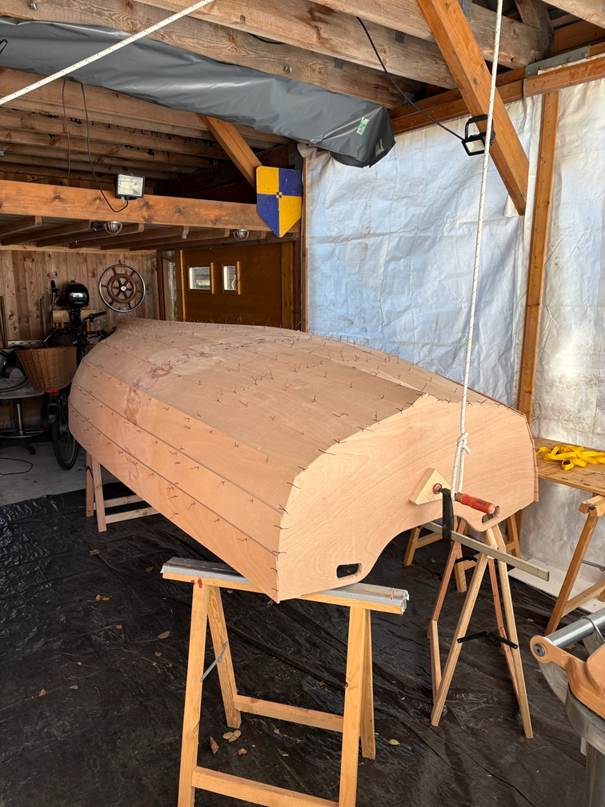
Once the resin has cured, the planks are firmly bonded to each other and to the frames, so the wires can be removed. If a wire happens to be stuck to the epoxy, simply cut it away as far as possible and leave the rest in place. Any protruding pieces of the soft copper wire can be easily sanded down later.
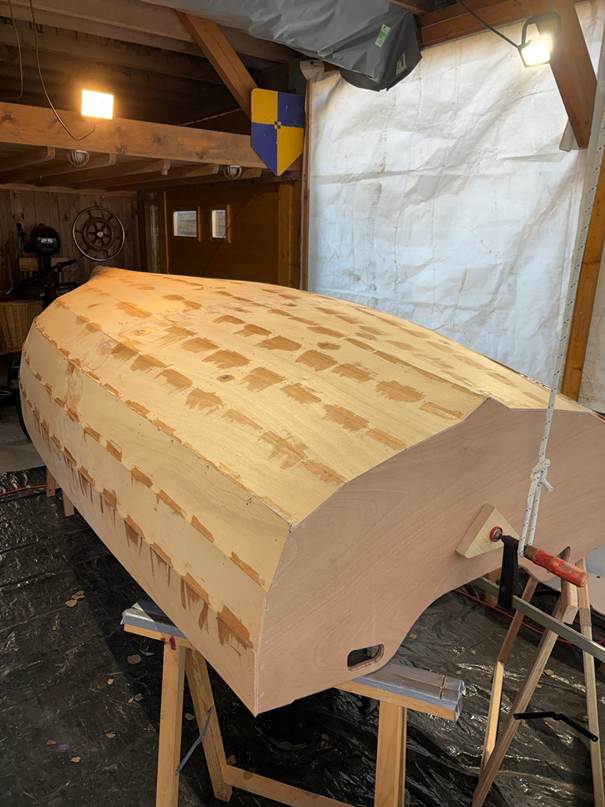
Gluing the planks together on the outside of the hull
Now the joints between the planks on the outside of the hull are carefully filled with epoxy filler. In addition to ensuring a strong bond between the planks, it is especially important here to create rounded and smooth surfaces without sharp creases or edges, so that the fiberglass mats can conform well to them later.
Grouting, Laminating, and Finishing the Interior
Then the hull is turned over again, and the joints between the planks on the inside are also carefully filled with epoxy filler.
On the inside of the hull, it is best to proceed segment by segment, integrating the grouting and fiberglass lamination in two consecutive steps for each segment. Once a segment has been fully grouted, place the mat—cut to size—into the segment on top of the joints that have not yet fully cured, and then carefully saturate the mat with the mixed epoxy resin.
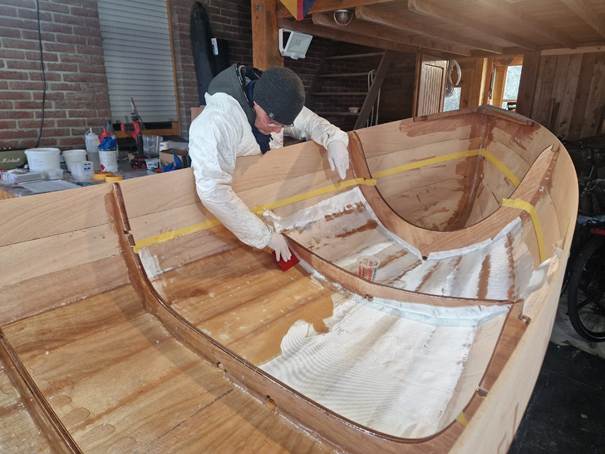
These grouting and laminating tasks—just like gluing the frames and planks—are very time-consuming because you have to keep mixing fresh batches of the compound, and the grouting should be done quite carefully, in part to minimize the amount of sanding required later on. Laminating, in particular, requires a great deal of patience and perseverance to carefully work the resin into the fiberglass while eliminating all air pockets and voids. It’s also quite hard on the wrists. Since the resin begins to gel after about 30 minutes, you’re once again working under uncomfortable time pressure.
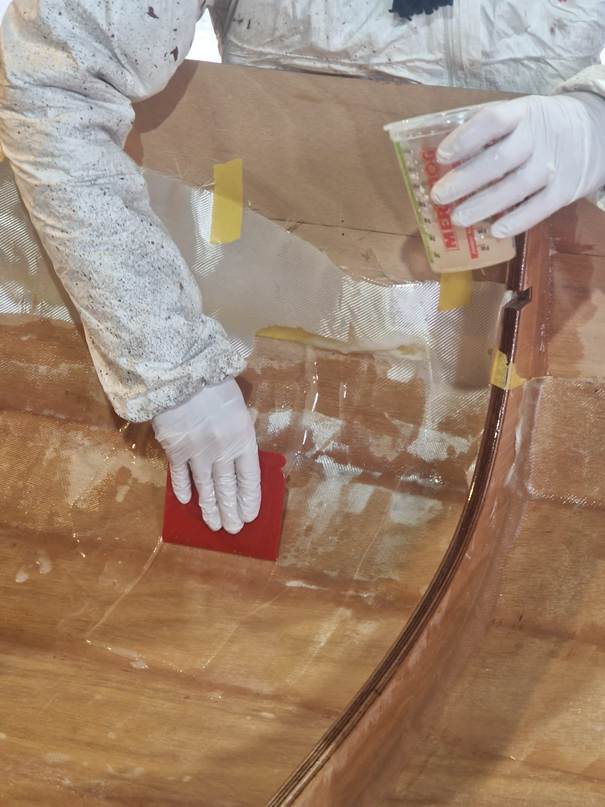
For me, that was the most tedious and only somewhat unpleasant part of the entire project.
After curing, the protruding glass fibers are neatly trimmed, and the laminated surfaces are sanded smooth. Another layer of epoxy resin is then applied so that the glass fiber’s weave pattern is completely embedded in the resin bed.
Once the lamination of the inside of the hull is complete, the next step is to glue in the brackets for the benches, the pre-fabricated centerboard case, the mast base, and the angle brackets at the stern.
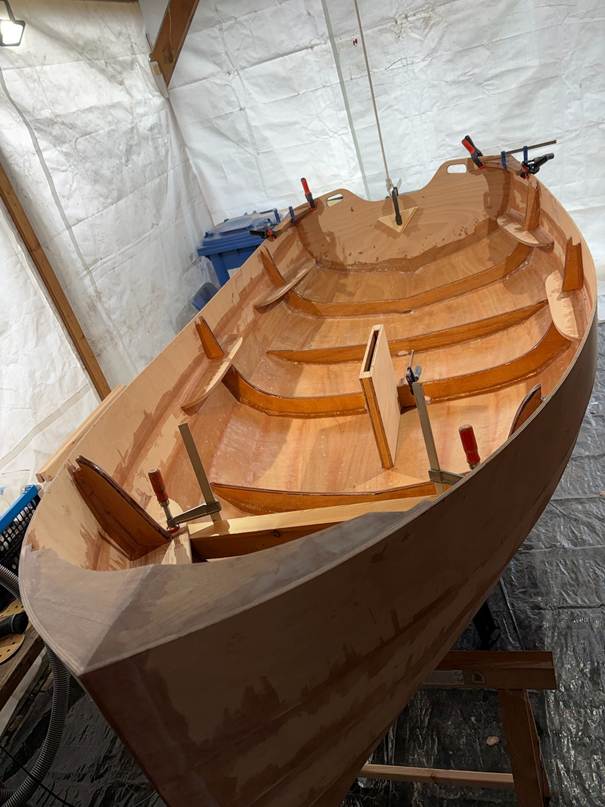
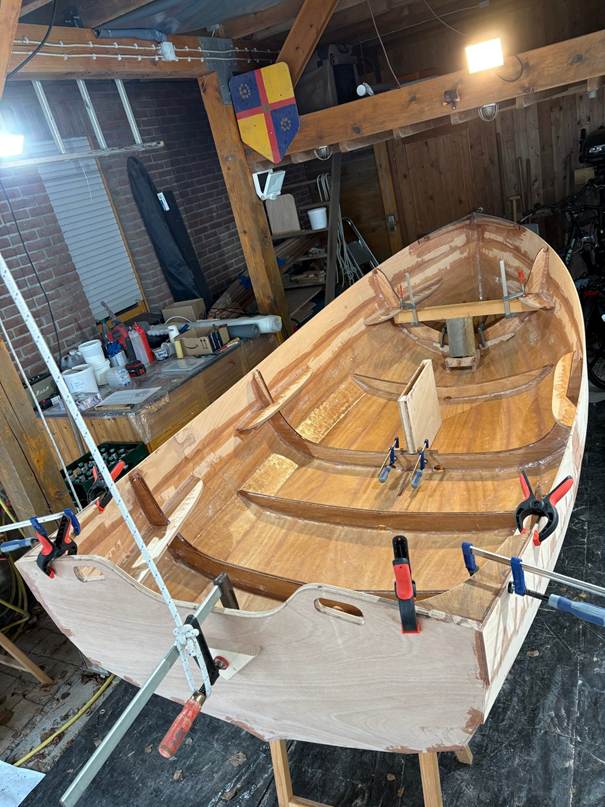
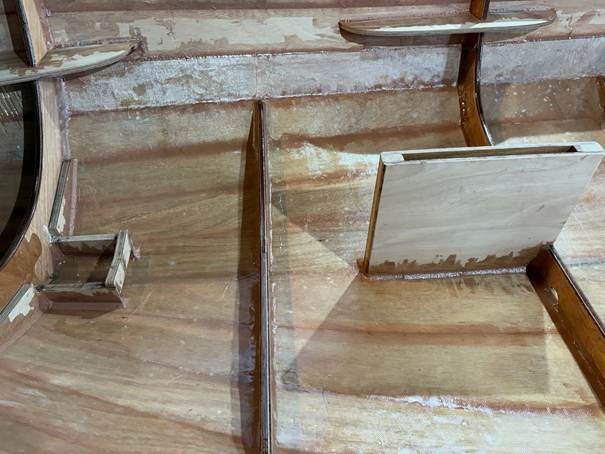
And now it’s time to sand, sand, sand …
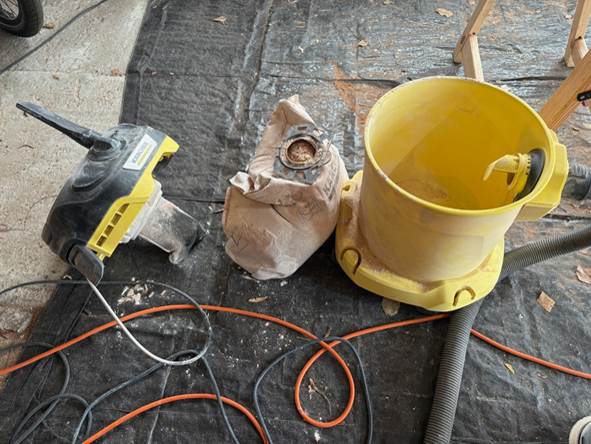
Installing the Inwales and Outwales
Next up are the solid mahogany wales. First, the lower wale, which is glued to the bottom edge of the top plank.
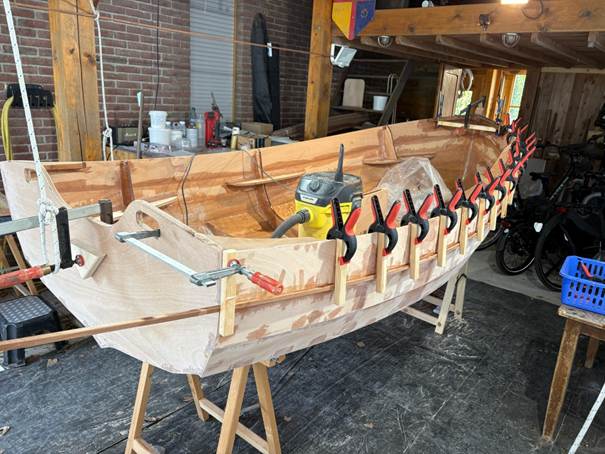
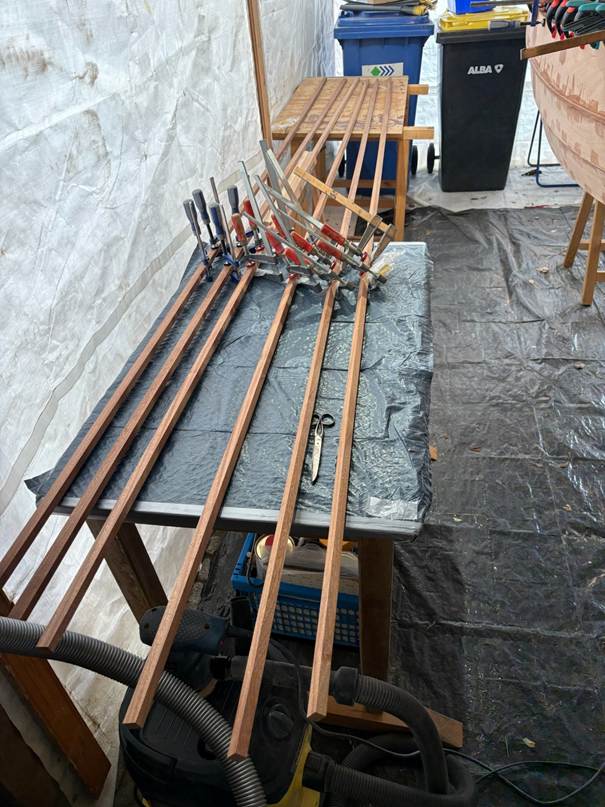
Next are the actual wales, which must first be cut to size and then glued together before being attached to the top edge of the upper plank from both the inside and the outside.
The first outer wale, complete with spacers on the inside.
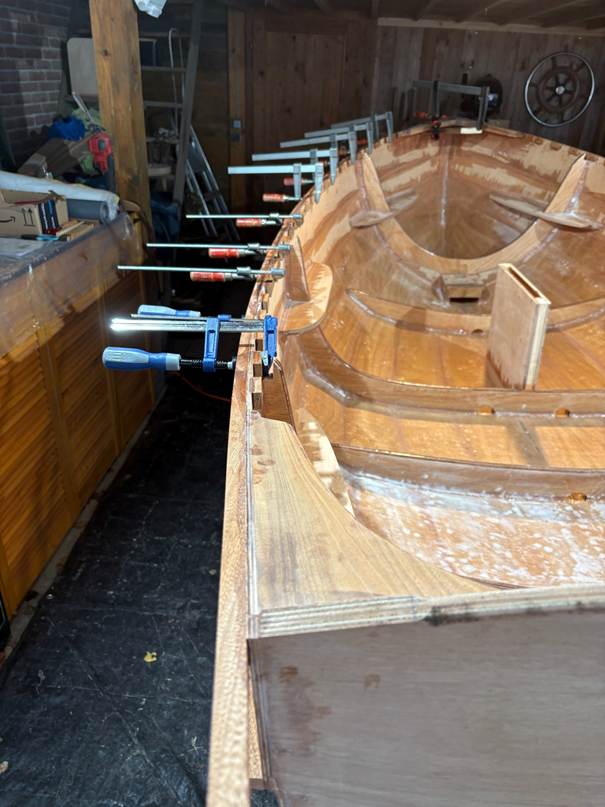
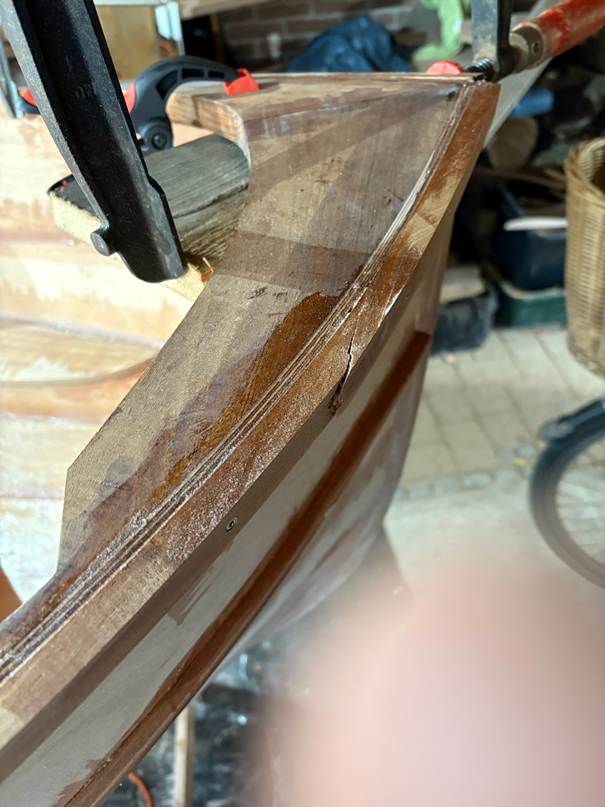
At the bow, where the radius is the tightest, you have to be very careful that the wale doesn’t tear. It is especially important that the grain of the wood runs in the correct direction in this highly stressed area and is not—as in this case—unfavorably distorted by knots.
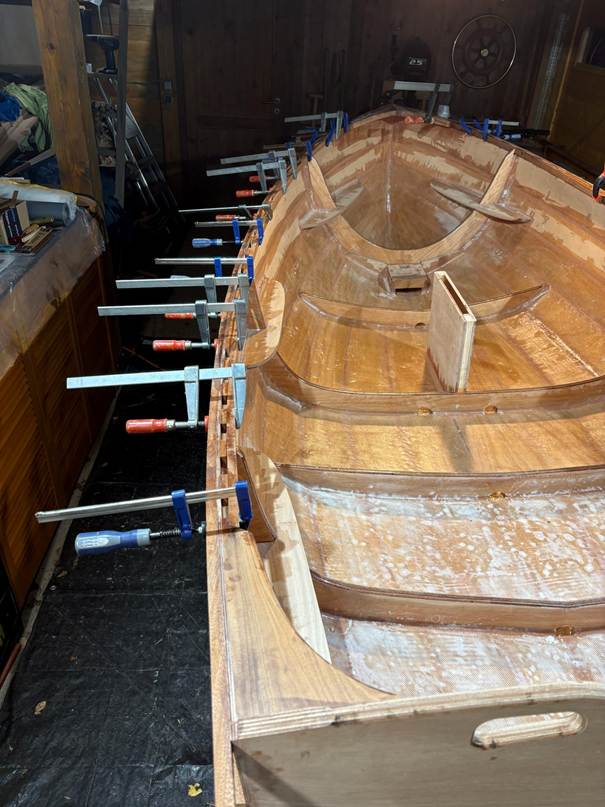
Next, the inner wale is attached; it must be cut to length and beveled very carefully at the front and rear so that it fits seamlessly against the small foredeck and the angle brackets at the stern.
Next, the second outer wale is attached, which finally completes the wale structure.
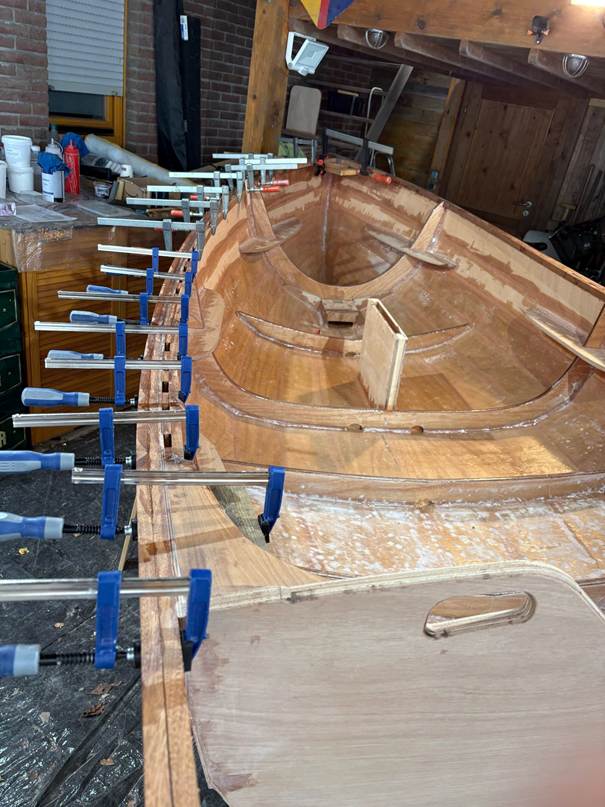
Careful polishing makes it a real treat to look at.
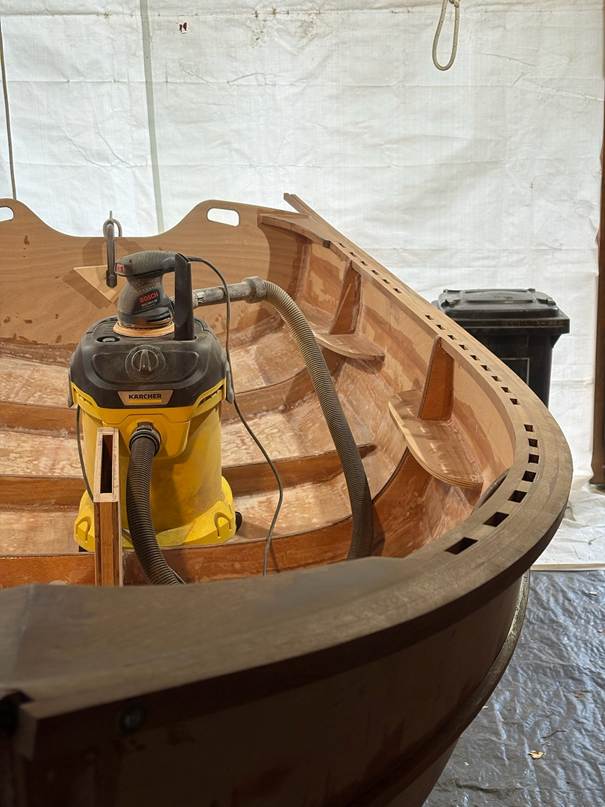
When working with tighter radii, the outer edge must again be rounded off with a light touch to prevent the wales from tearing.
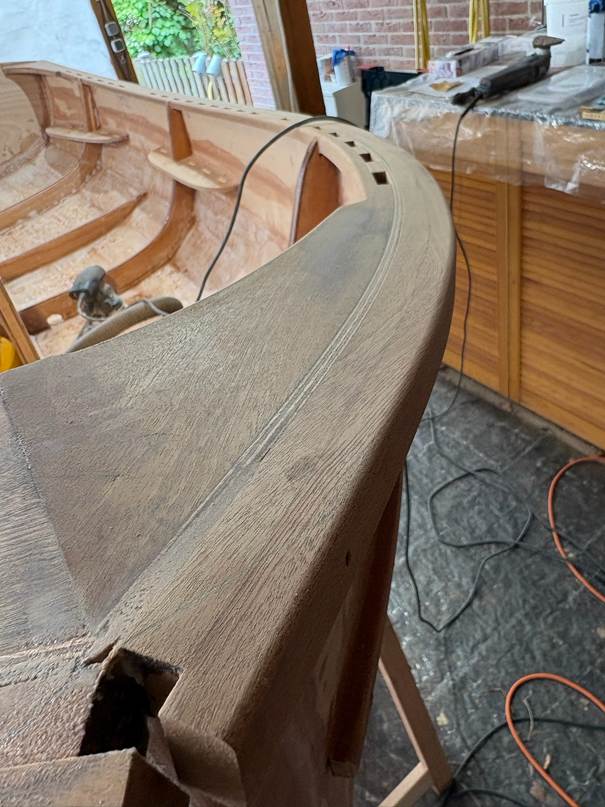
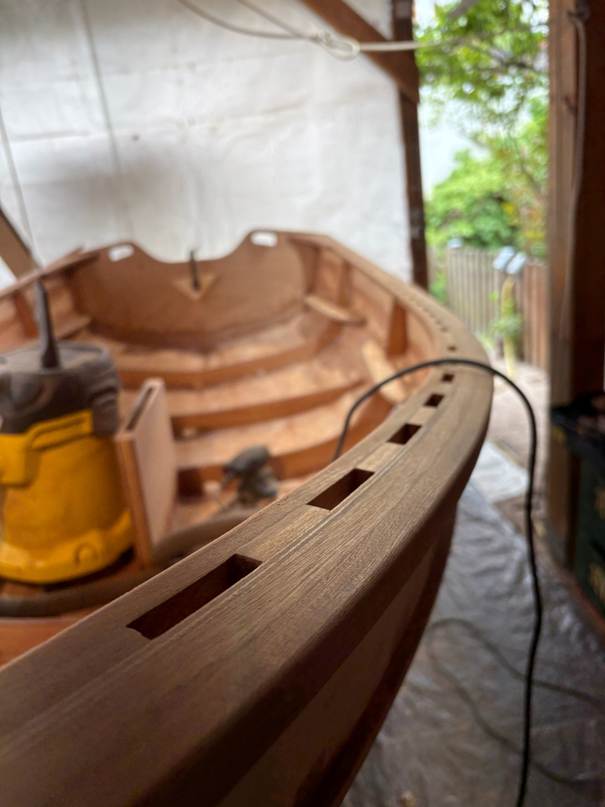
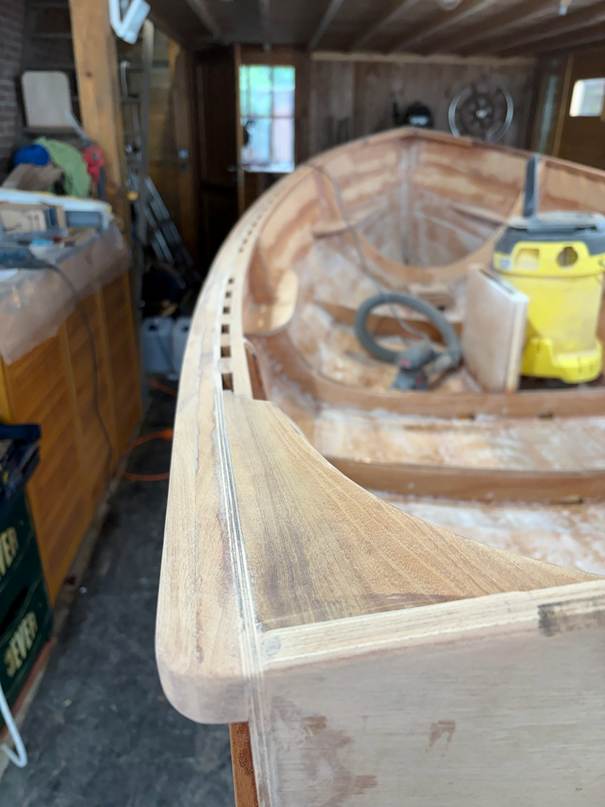
Finally, the mounts for the oarlocks are installed. The front oarlocks are intended for use only when a second person is seated at the stern, in order to achieve a balanced weight distribution. However, we’ve found that in everyday use, the boat is very well balanced with one person plus a dog at the stern and another person on the center bench, and it rows wonderfully. We’ve never used the front oarlocks and actually consider them unnecessary, especially since they can’t be used without damaging the plank due to the slightly sloped gunwale here.
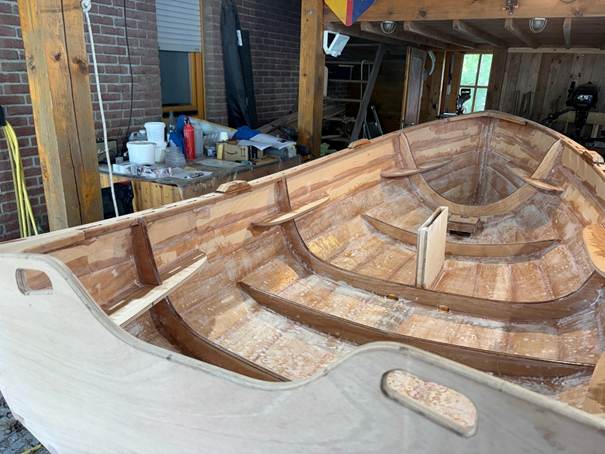
Next, the inside of the hull is sanded, then coated twice with epoxy and painted twice with polyurethane DD paint.
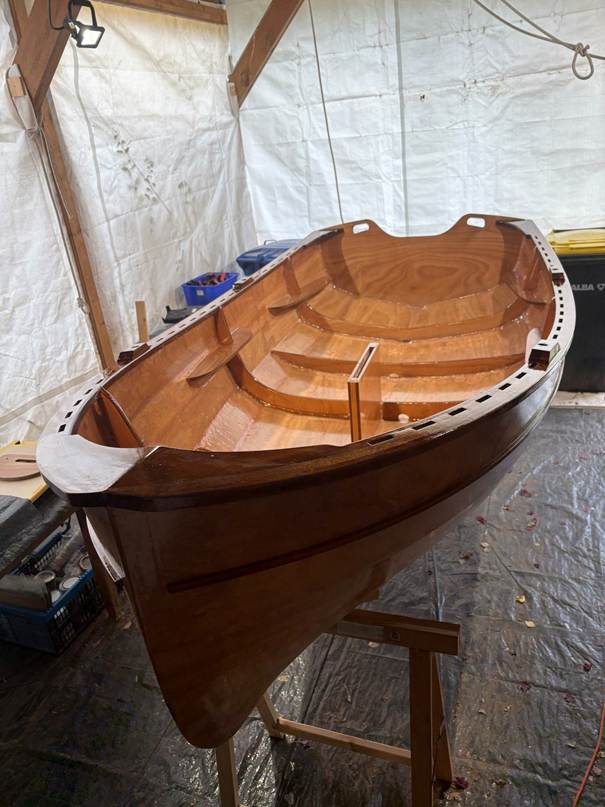
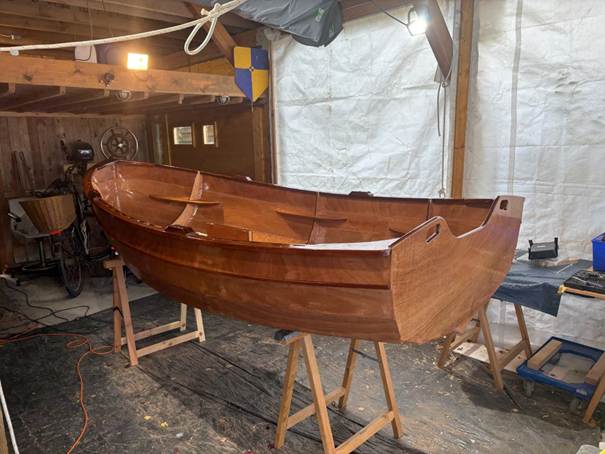
Grouting, laminating, and finishing the exterior and underside of the hull
Then the hull is turned over, and the skeg is bolted on and glued in place.
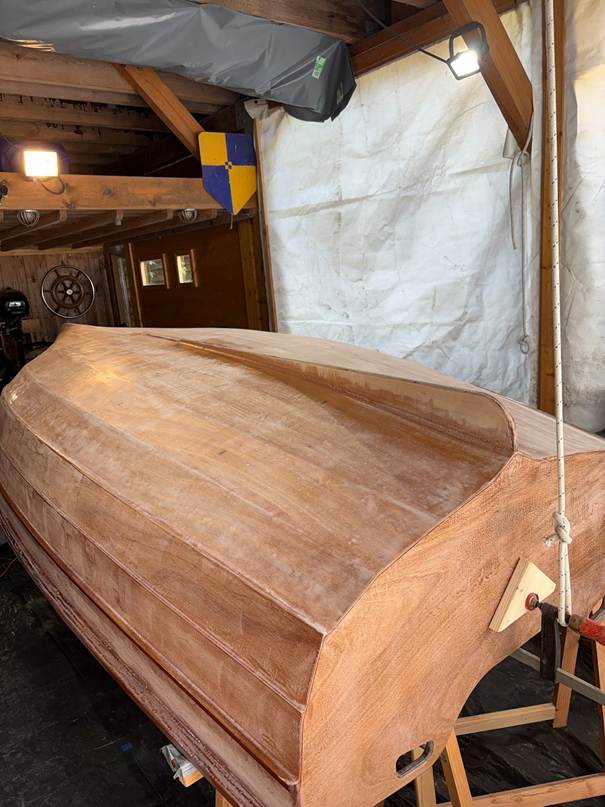
Then everything is also coated with glass fiber.
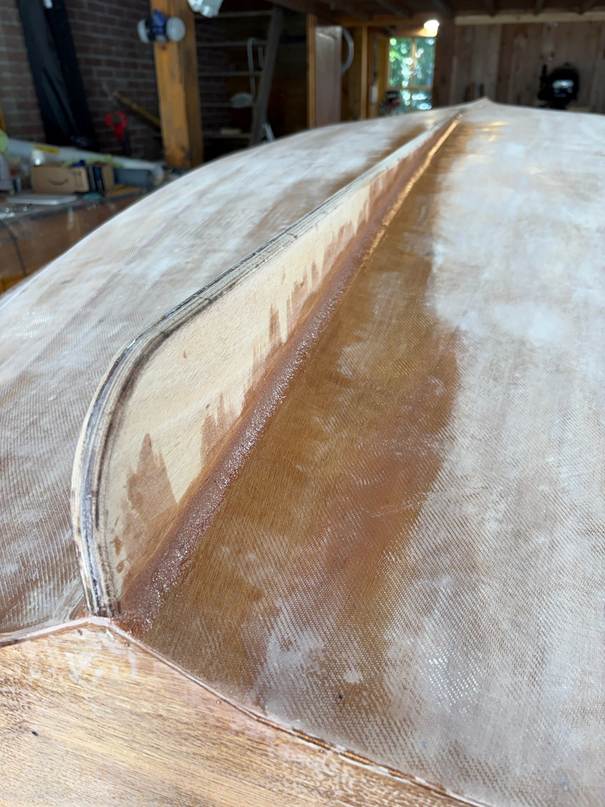
Next, the hull and skeg are sanded and, just like the inside of the hull, coated twice with epoxy after an intermediate sanding, and finally painted twice with polyurethane DD varnish.
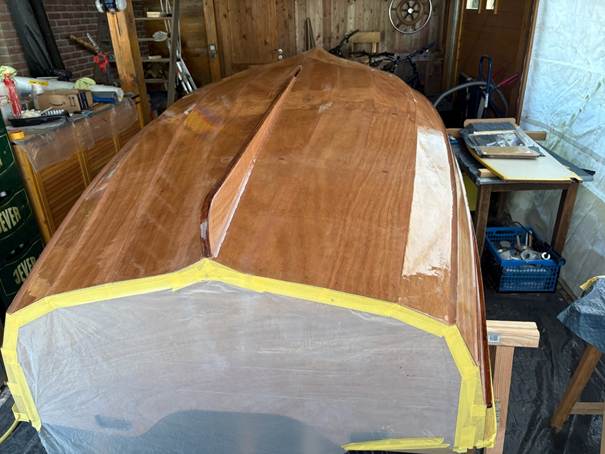
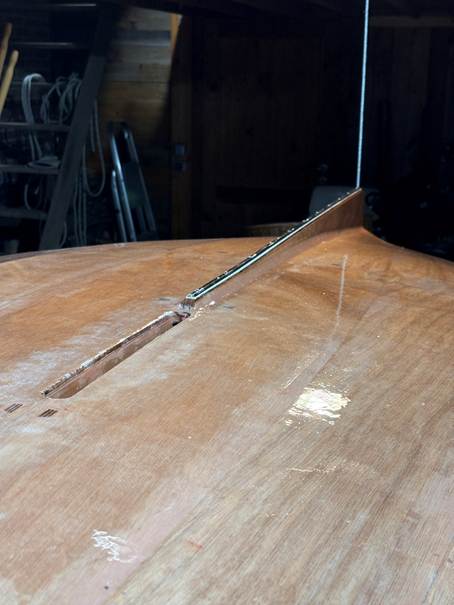
To protect the skeg—the lowest point of the hull—during landing, I also covered it with fiberglass and attached a stainless steel strip to the underside.
Floorboards and benches
Contrary to the instructions, I also coated the floorboards and benches with fiberglass and applied a non-slip finish to provide optimal protection for this area, which is subject to particularly heavy wear and tear during everyday use.
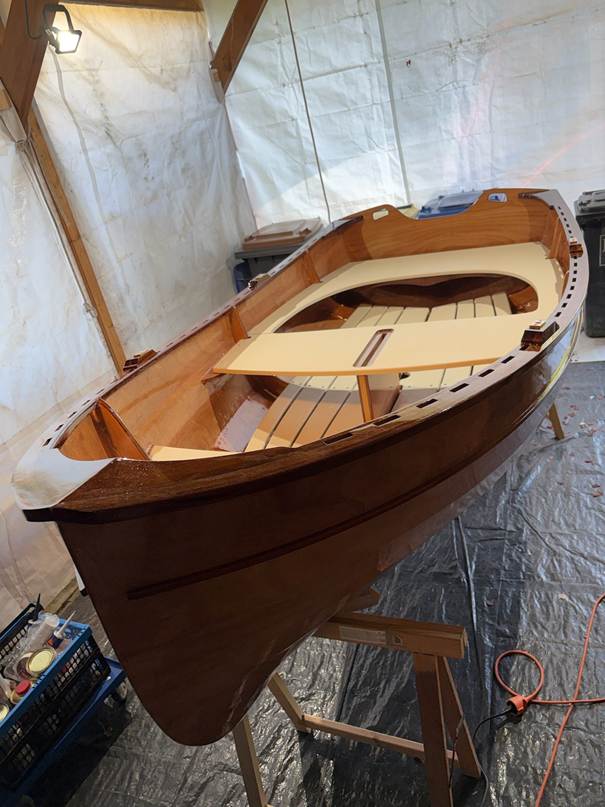
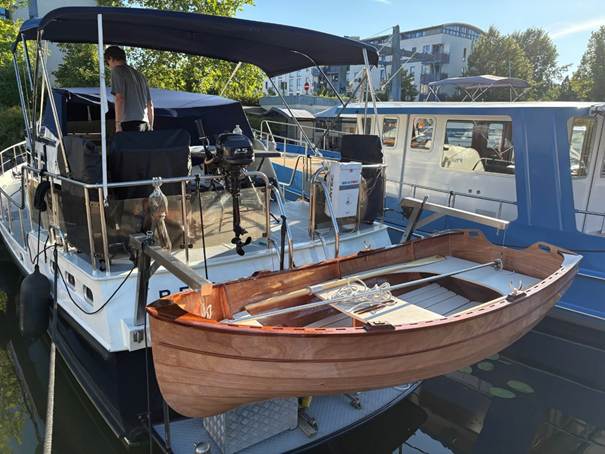
The finished piece weighs about 60 kg and can be easily transported on the roof of a car to the mother ship’s mooring, where it is securely suspended from davits at the stern and can be easily winched up and down as needed.
Conclusion
Its practicality for everyday use is truly outstanding compared to an inflatable boat or a banana boat. It’s exceptionally stable when getting in and out, yet the boat is lightweight and easy to handle. As a passenger, you feel safe at all times and sit comfortably. But the best part is the ease and speed with which it glides through the water when you row it. For a distance of 100 meters from the anchored ship to the shore, you might take 20–25 vigorous strokes, and then you’re already at your destination. It feels twice as fast as the banana boat and three times as fast as the inflatable boat. This is what makes rowing fun—what a treat! Next up are the oars, centerboard, and rig with sails—and then it’ll be a complete package!
A project like this is, of course, a challenge—it’s not something a layperson can just whip up off the cuff, that much is clear. You’ll need to set aside about 200 hours of work, and of course, you’ll need the appropriate space. But if you’re not completely all thumbs and aren’t afraid to tackle hands-on work with a certain amount of care and perseverance, it’s definitely doable. Especially since the wooden parts are largely prefabricated and come with very detailed, step-by-step instructions. And Lutz Berger is truly very knowledgeable and is always available to answer questions, so you can count on his support if needed.
The feeling of having built such a lovely dinghy with your own two hands is truly a special pleasure.